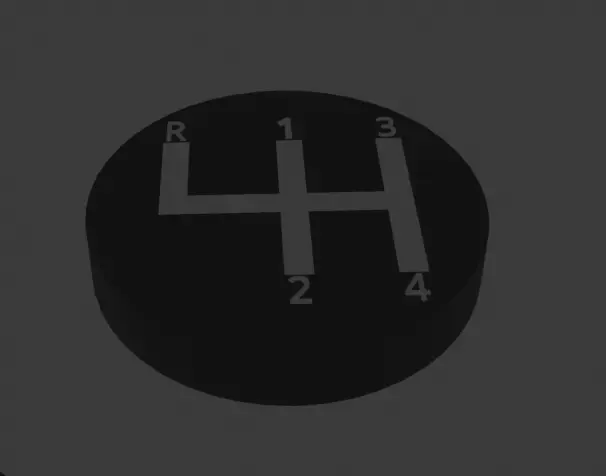
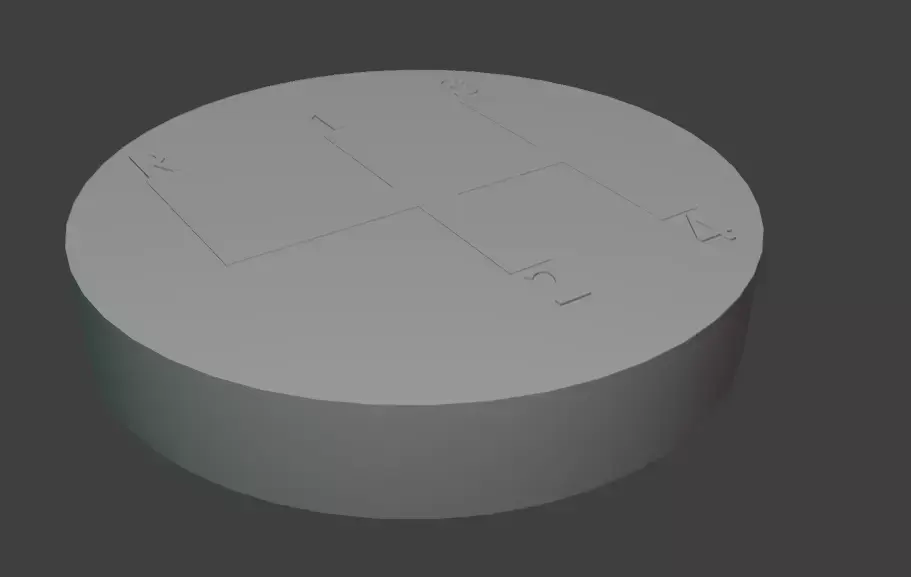
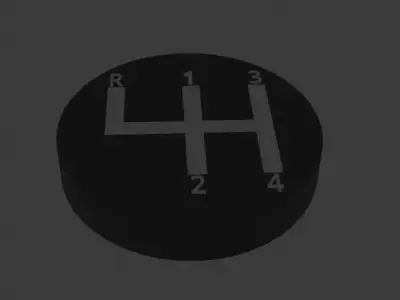
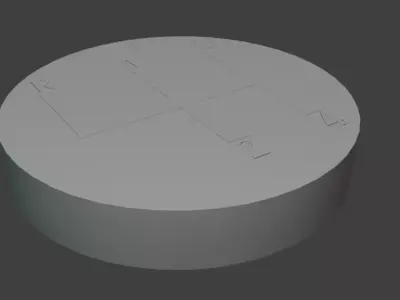
Elevate your vehicle or simulator setup with this upgraded golfball-style shift knob, engineered for 3D printing and digital fabrication in multiple formats (STL, OBJ, GLB, SVG).Building on the original one-piece design, this modular edition separates the main knob body from the gear-pattern insert, enabling multimaterial printing and unique customization.The spherical knob retains its retro golfball-inspired dimpled texture for enhanced grip, while the detachable insert features a classic 4-speed layout (reverse at far left). The insert is press-fit into the knob and secured with adhesive, ensuring a flush, durable bond.Designed for both real cars and sim racing setups, this modular knob offers a realistic tactile feel with the flexibility to personalize finishes and materials.
Technical Specifications
Knob diameter: 46 mm
Total height: 46 mm (36 mm visible + 10 mm mounting zone)
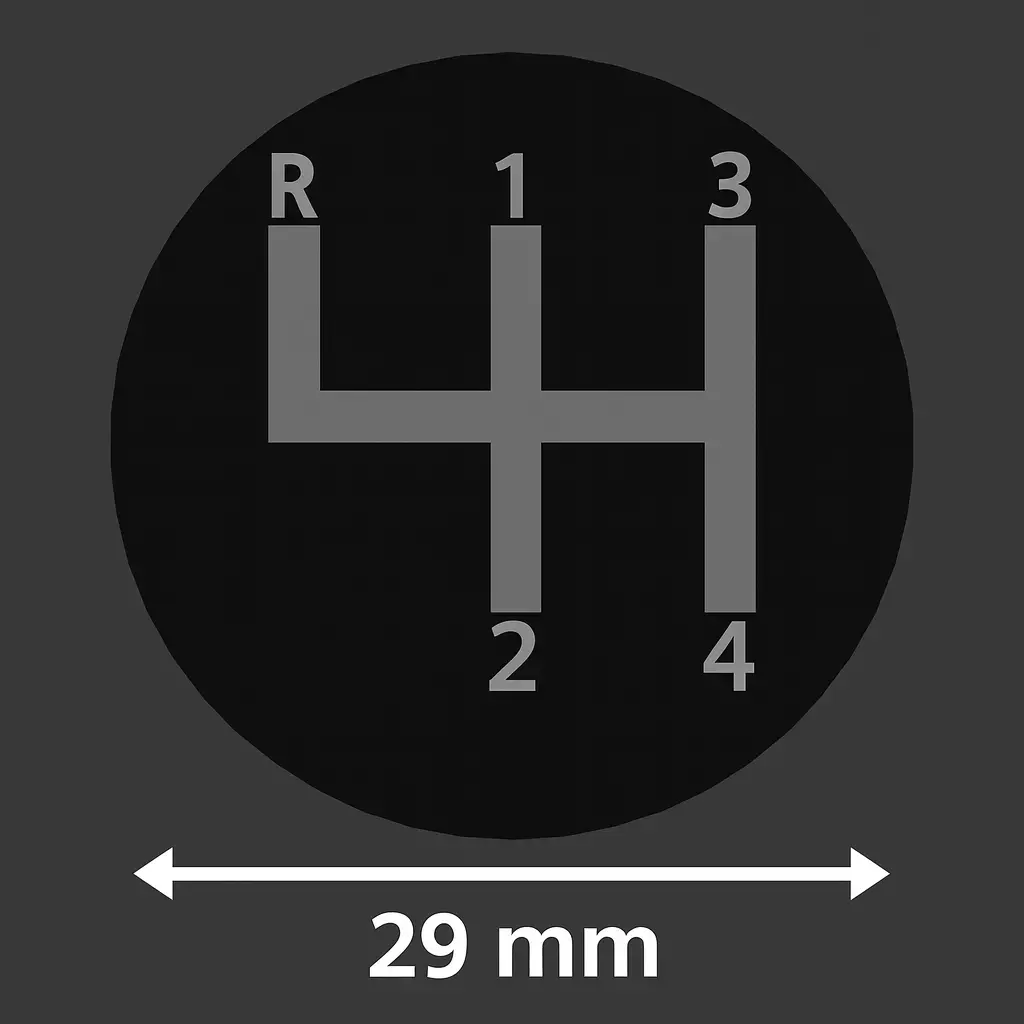
Gear-pattern insert cavity: Ø29.1 mm × 5.10 mm (press-fit + adhesive)
Gear-pattern insert piece: Ø29.0 mm × 5.10 mm
Variants included:
–M10 edition: Ø12 mm × 25 mm cavity (for M10 × 1.5 thread inserts)
–M12 edition: Ø14 mm × 25 mm cavity (for M12 × 1.75 thread inserts)
Mounting system: Epoxy-glued metal thread insert (not included)
Insert attachment: Press-fit + adhesive for secure bonding
Printer compatibility: FDM printers using PLA, PETG, ABS, Carbon Fiber Composite Filament, etc.
Print orientation: Optimized for minimal or no supports
Assembly Instructions
1:Prepare the parts
A: 3D print the shift knob according to the thread size required by your car or simulator setup:
-M10 edition -Ø12 mm × 25 mm cavity (for M10 × 1.5 thread insert)
-M12 edition - Ø14 mm × 25 mm cavity (for M12 × 1.75 thread insert)
B: 3D print the gear‑pattern insert (Ø29 mm).
C: Prepare the metal thread insert (bushing): make sure you have the correct M10 or M12 metal insert, cleaned and ready for assembly.
D: Remove any support material and check tolerances before proceeding.
2: Install the metal thread insert (not included)
A: Apply a thin layer of strong epoxy adhesive around the outer surface of the metal insert.
B: Press-fit the insert into the knob’s cavity until fully seated.
C: Allow adhesive to cure according to manufacturer’s instructions.
3: Attach the gear‑pattern insert
A: Apply a thin layer of cyanoacrylate gel or epoxy inside the Ø29.1 mm cavity.
B: Align and press-fit the Ø29.0 mm insert until flush.
C:Hold light pressure for 30–60 seconds and remove any excess adhesive immediately.
4: Final installation
A: Once cured, screw the knob onto your gear lever (M10 or M12 thread).
B: Verify tightness and alignment before use.
5: Optional Enhancement
The gear‑pattern insert sits slightly below the knob surface, leaving ~0.1 mm clearance. You may apply a transparent epoxy layer (~0.1 mm) over the insert to:
-Fill the tolerance and achieve a perfectly flush surface.
-Protect the engraved pattern from wear.Add a glossy, premium finish.
Note:
-Metal threaded insert not included. Use strong epoxy adhesive for mounting.
STL (Stereolithography, filesize: 47.2 KB), OBJ (OBJ, filesize: 43.5 KB), SVG (SVG, filesize: 347 Bytes), BLEND (Blender, filesize: 551 KB), GLTF (glTF, filesize: 18 KB), OTHER (Other, filesize: 551 KB)