Perfect! Let's walk through how to create a cabinet model in 3ds Max using V-Ray. This guide assumes you're using 3ds Max with the V-Ray renderer enabled.
Step-by-Step Guide: Cabinet Modeling in 3ds Max with V-Ray
-
Set Up the SceneOpen 3ds MaxGo to Render Setup (F10) > Renderer tabSet V-Ray as the production renderer (assign V-Ray if it's not already set)
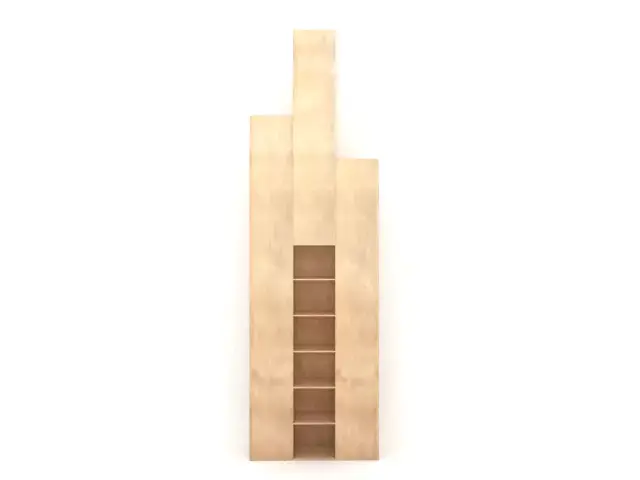
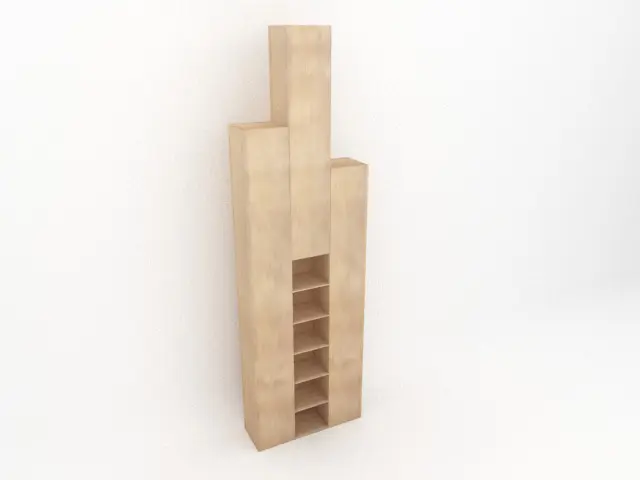
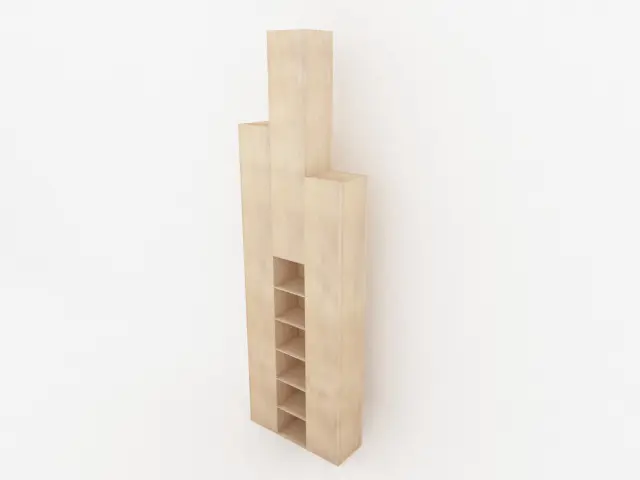
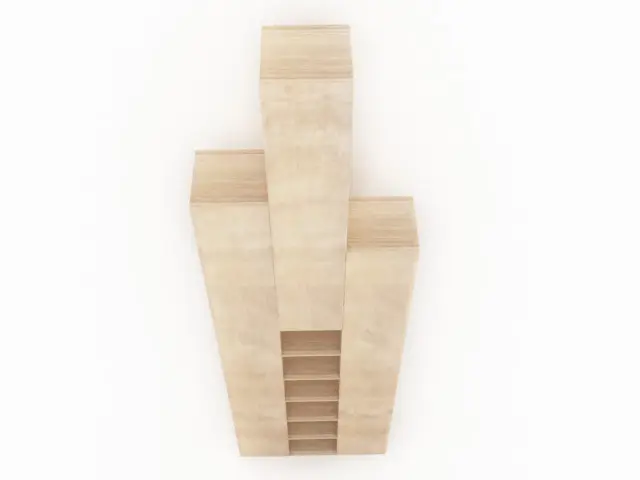
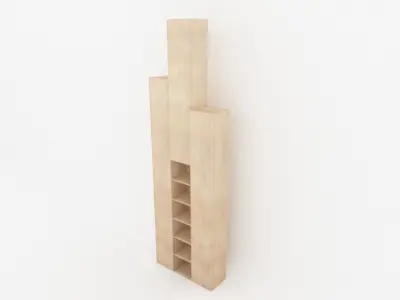
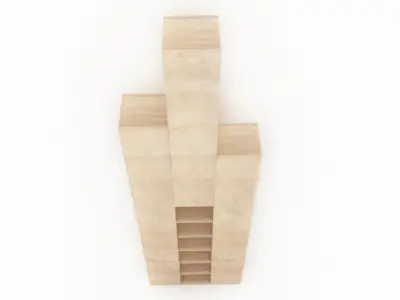
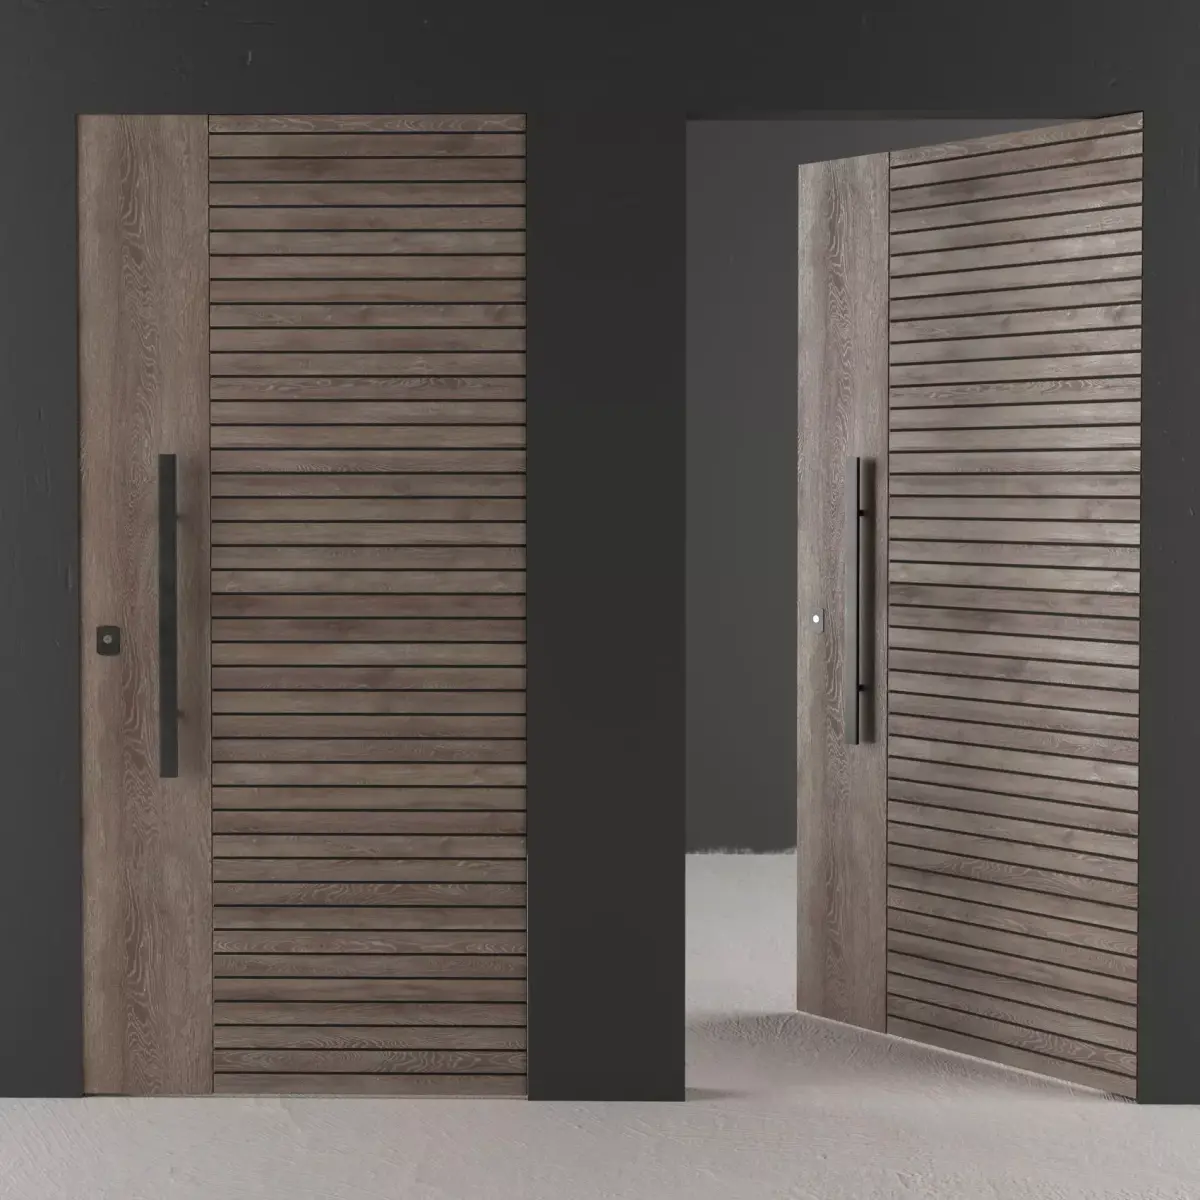
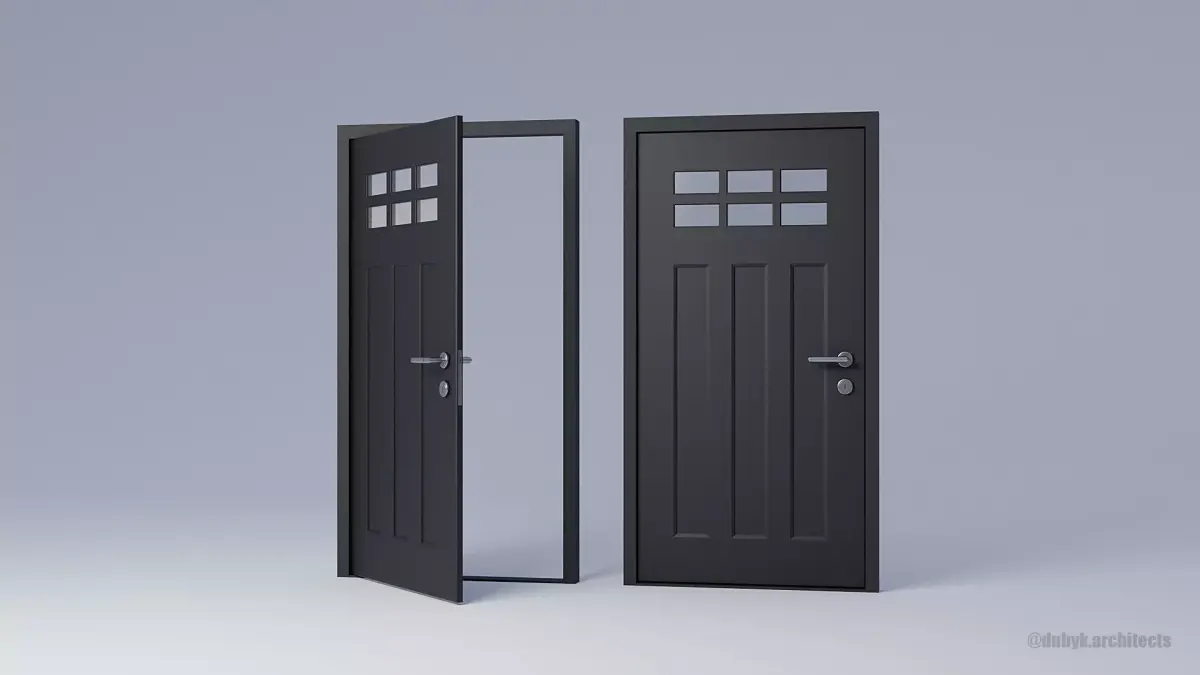
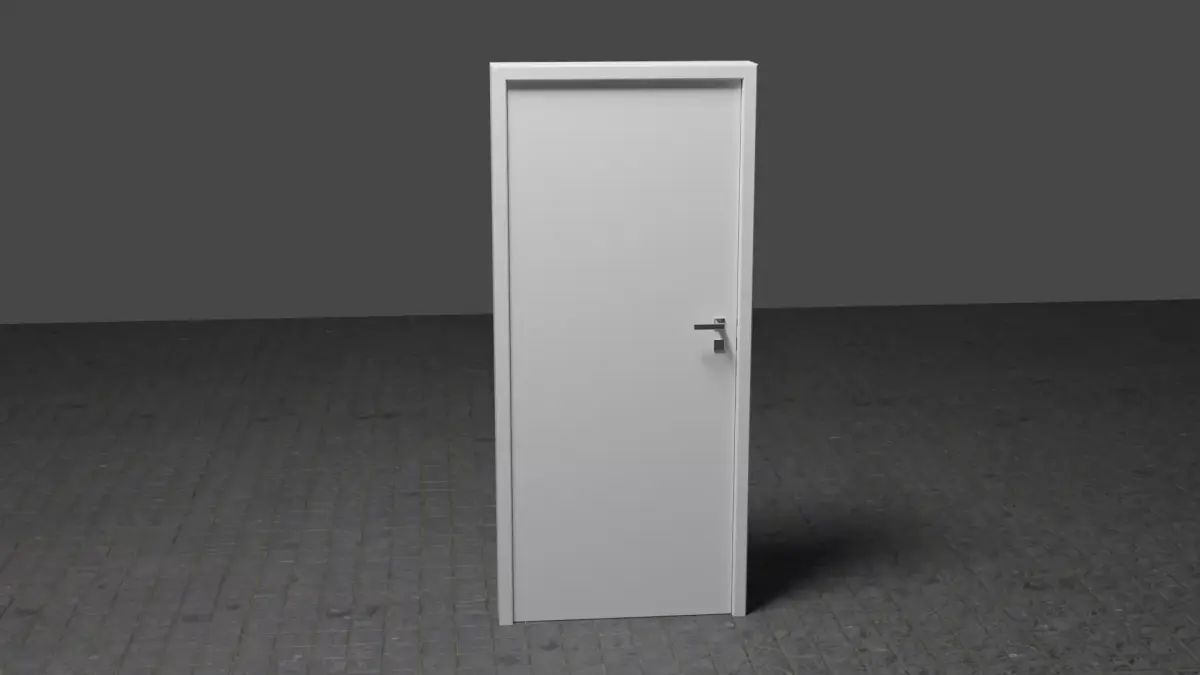
- Model the Cabinet BaseGo to Create Panel > Geometry > Standard Primitives > BoxCreate a box for the cabinet body:Example: Length: 60 cm | Width: 40 cm | Height: 90 cm
Right-click > Convert to Editable PolyOption A: DoorsSelect the Front face of the cabinetUse Inset (in Polygon sub-object mode) to create the door area.Then use Extrude (negative) to push it slightly inward.Option B: Separate Door ObjectCreate another Box as the doorAlign and scale it to fit inside the front of the cabinet.Add a Chamfer modifier to slightly round the edges.
Add Details (Handles, Hinges)Use Cylinders or boxes to make simple handlesCreate a small cylinder and duplicate it for drawer pulls.Place and align them correctly using the Move/Rotate Tools
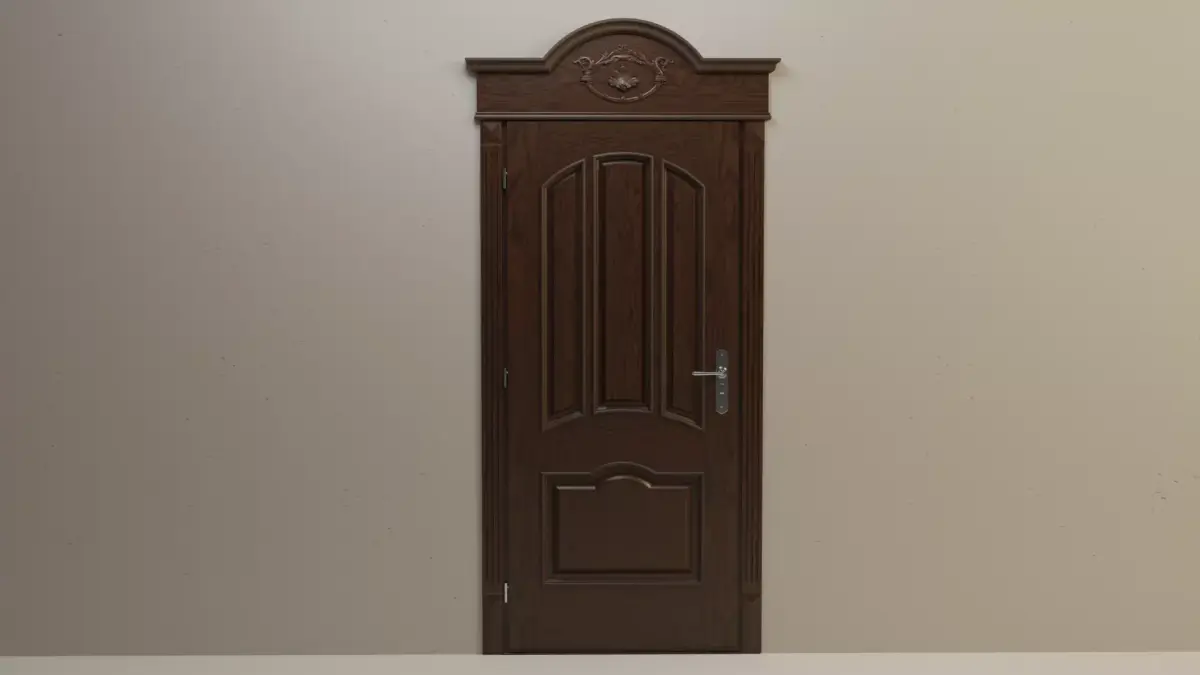
Apply V-Ray MaterialsOpen Material Editor (press M)Create a new VRayMtl
Name: WoodMaterialDiffuse: Load a wood texture.Reflection: Increase to around 0.6–0.8
Glossiness: ~0.6 (adjust for more or less shine)Bump: Load a wood bump map or use VRayNormalMapAssign to the cabinet using drag-and-drop or Assign Material to Selection.
UV MappingApply a UVW Map modifier to the cabinetSet to Box Mapping for simple wood texturesUse Unwrap UVW if using custom textures or for more complex mapping.
Lighting Setup (V-Ray)Add a V-Ray Plane Light above or beside the cabinetSoft light: Use a large size and turn down the intensityAdd a V-Ray Dome Light with an HDRI map for realistic lighting.Optional: Add a V-Ray Sun & Sky System for natural daylight.
Camera and RenderingCreate a V-Ray Physical Camera or use a default camera.Adjust the position and angle to capture the cabinet.Go to Render Setup (F10)Choose output resolution (e.g., 1920x1080)Under V-Ray settings:GI OnPrimary GI Engine: Brute ForceSecondary GI Engine: Light Cache
OBJ (OBJ, filesize: 17.8 KB), JPG (JPG, filesize: 126 KB), MAX (Autodesk 3ds Max, filesize: 376 KB), FBX (Autodesk FBX, filesize: 60.5 KB), PNG (PNG, filesize: 8.22 MB)