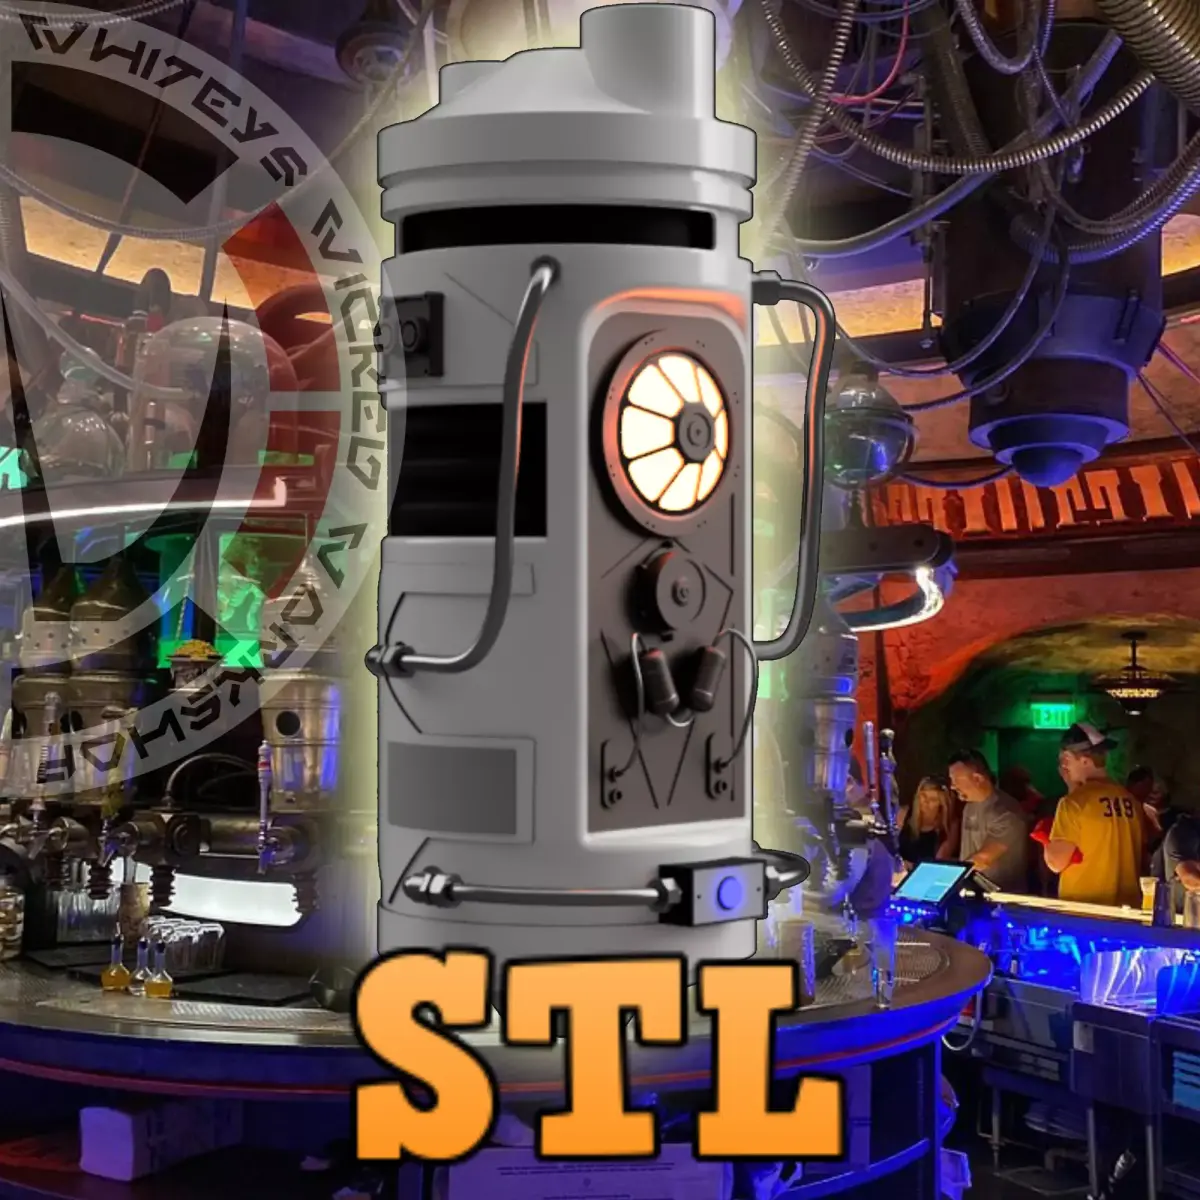
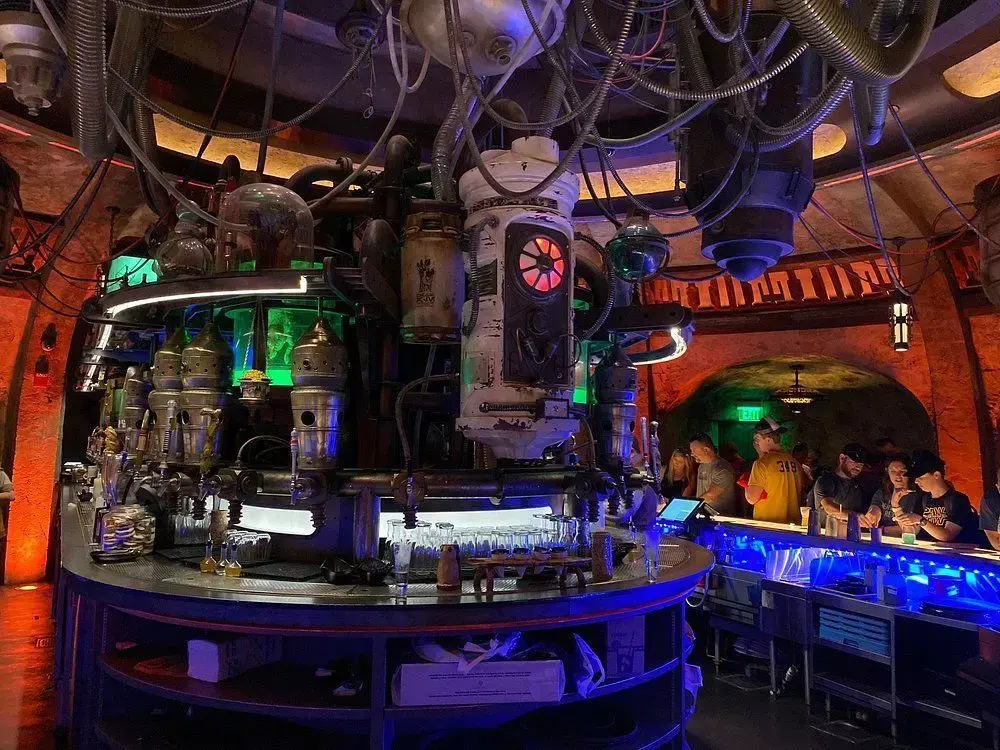
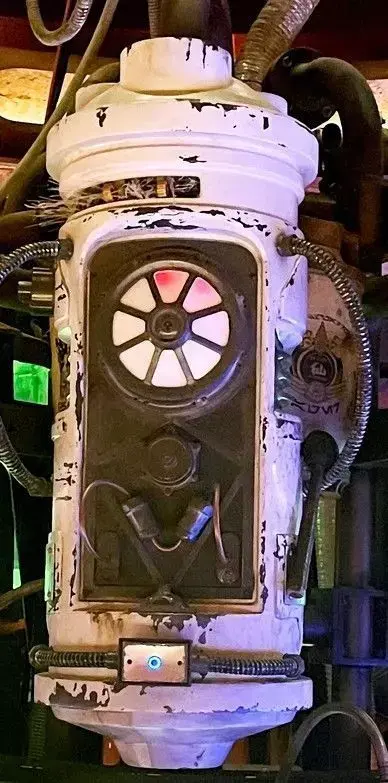
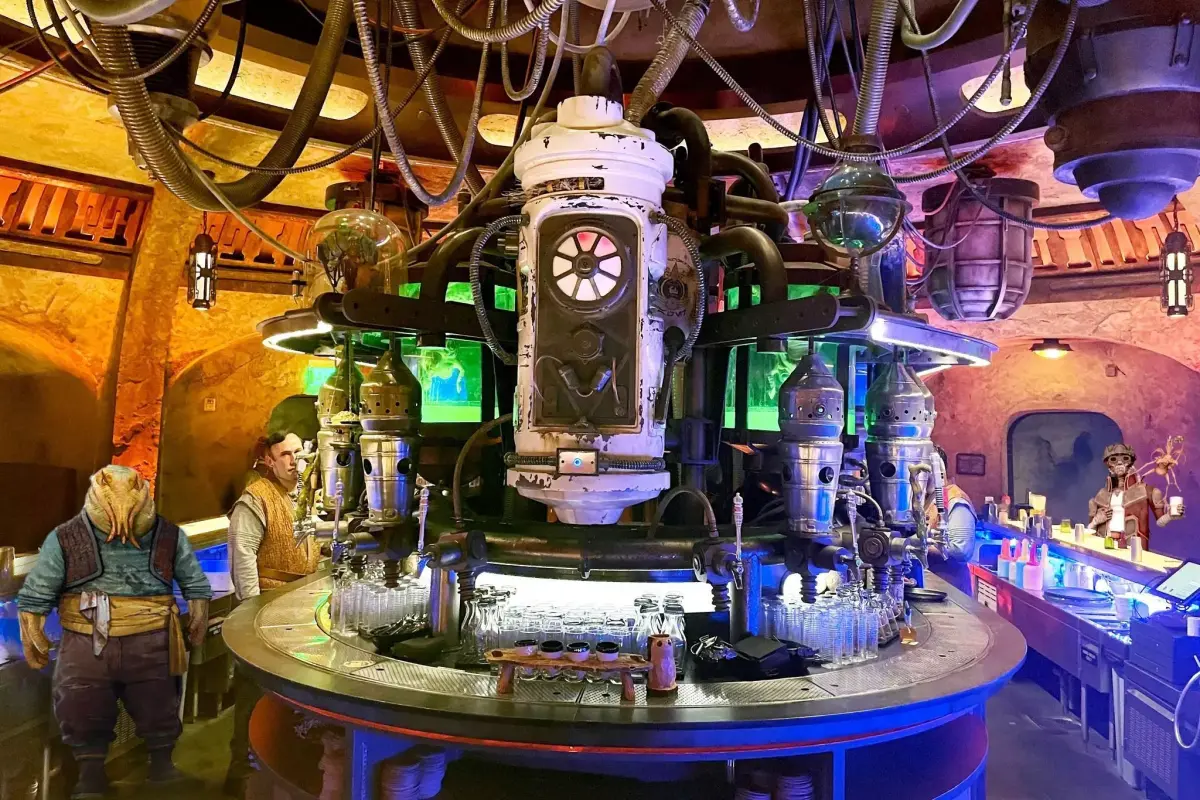
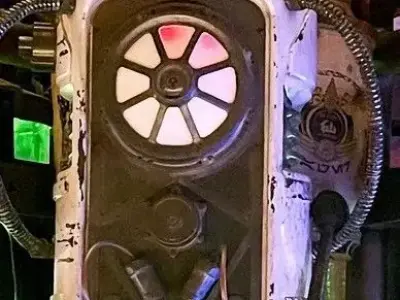
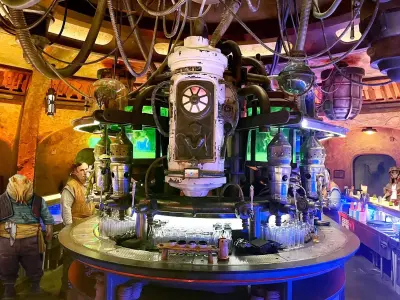
If you have ever visited the Cantina at Galaxys Edge you would have seen this large Center Piece in the middle of the bar. Such a sight to see. Get the file and make it for your home bar-cantina.
Galaxy's Edge Cantina Center Piece Prop 3D Print STL File:
This listing includes digital files only; no physical items will be shipped.Ensure you have access to a 3D printer or 3D printing service.Due to the digital nature of the product, refunds or exchanges are not available.
Dimensions (see pics): Printable on 256mm bedFull Assembled - approx. 584mm tall x 220mm wide x 220mm roundBut you can scale it to your printer bed size!
Items Needed (some are affiliate links):
QTY 1 - Bob Smith Superglue or equivalent:
Assembly:
- Print out all parts.
- Do a Dry Run / Test Fit before doing anything.
- I have supplied some holes for LED lighting. Some holes might need to be drilled open for larger wiring, depending on what your doing. Do this before gluing together.
- Start with adding the MiddlePins to the BottomBody
- Add TopBody on top of that
- Take the TopInnerDecor and add to the TopBody
- This piece is meant to have greeblies and odd electrical pieces glue to it to look like the inside of prop
- Make sure the TopInnerDecor piece can fit into the TopBody once pieces are glued to it.
- Put the body aside
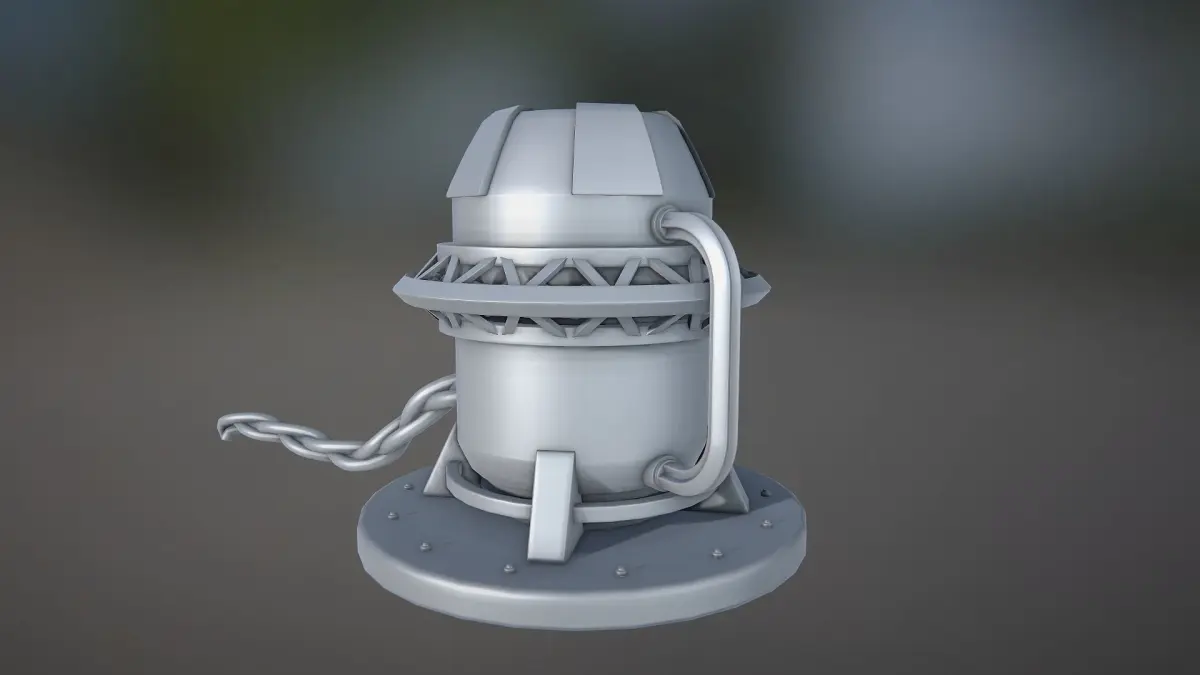
- Start with the CenterPlate piece
- Add the CenterLens
- Add the CenterLensFrame
- Add the two front canisters using the FrontCanisterPins
- Using the FrontCanisterConnectorTube , connect the two canisters on bottom side
- Add the SmallTubeL to the FrontCanister left top side and connect to bottom left of the Centerplate
- Add the SmallTubeR to the FrontCanister right top side and connect to bottom right of the Centerplate
- Centerpiece should now be complete
- Add the Centerpiece to the Body in space allocated for it
- Using the Ribbed pins add the RibbedPieceL and R to the left and right hand sides of body
- Add the GreeblieSideBox to top left side of body using the GreebliePins
- Add the StraightAdapters to Top holes
- Add the LongPipeL and R to the StraighAdapters and then use the 90DegreeAdapter to connect to body
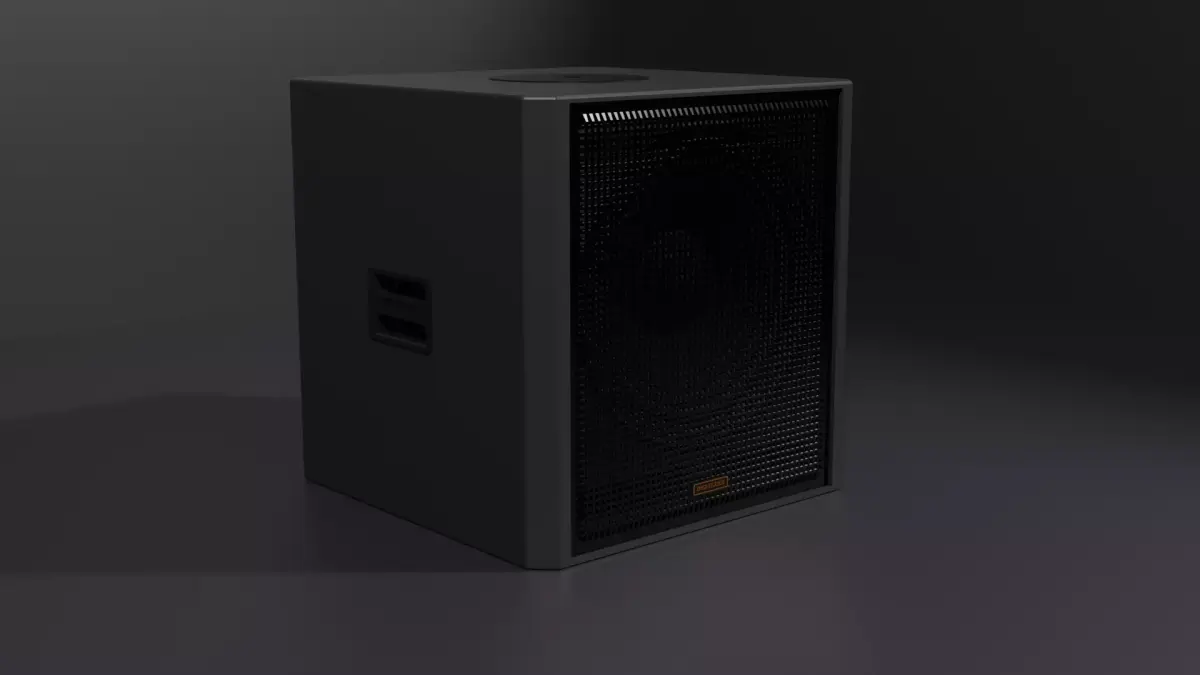
- Determine which FrontLightBox you want to use
- Add the FrontLightBox to the bottom center of the prop
- Using the 90DegreeAdapters again connect the FrontLightPipeLR to the Body and then to the FrontLightBox
- Glue it all together when ready.
PROTIP's:
- Paint and let dry before handling.
- Do a Dry Run / Test Fit before doing anything.
Enjoy!
Please let me know of any issues.
Whitey!
Photo Credit: Sorry I do not remember where I got the pictures so if you own them please let me know and I will post your name/and/or company. Thanks!
Join My Patreon for over 200 Awesome STL-DXF-SVG files and counting:Ask my Patrons and they will tell you that I am very active.$5 Tier and up get a Etsy 20% off Discount CodePatreon = WhiteysWickedWorkshop
STL (Stereolithography, filesize: 7.8 MB), PNG (PNG, filesize: 7.8 MB), OTHER (Other, filesize: 35.3 MB)