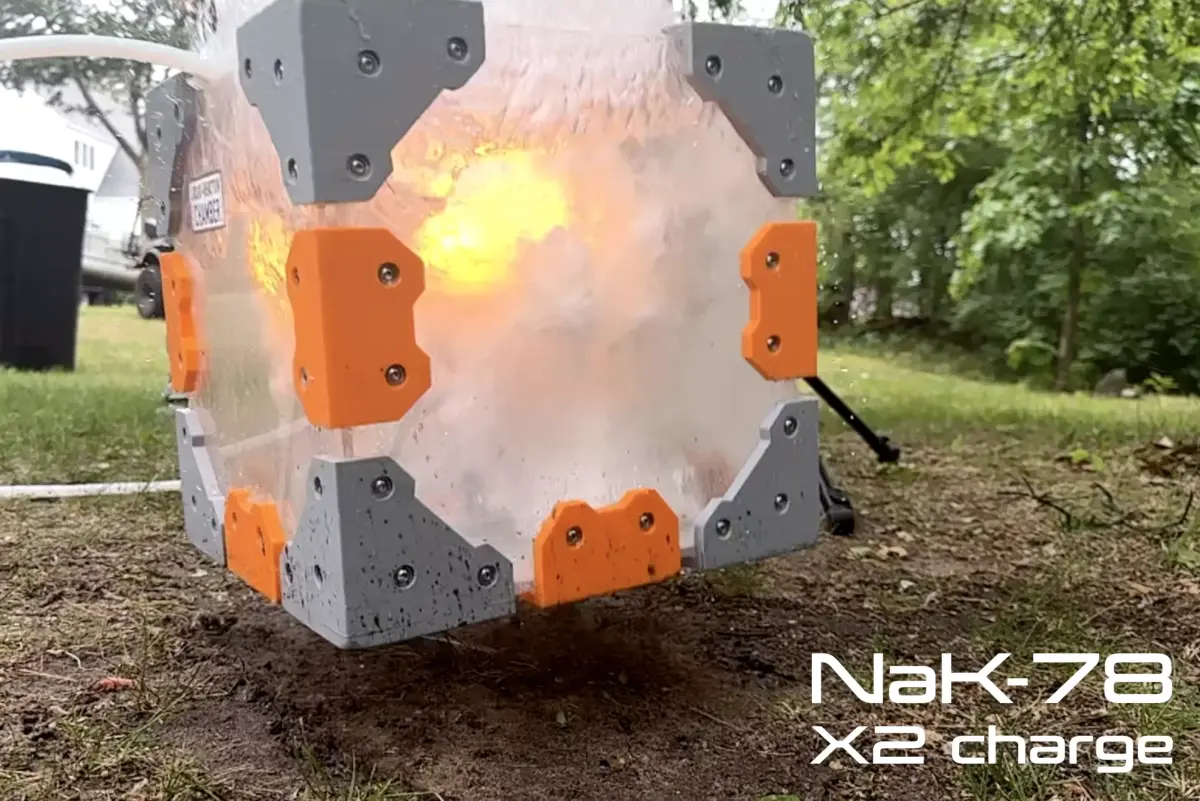
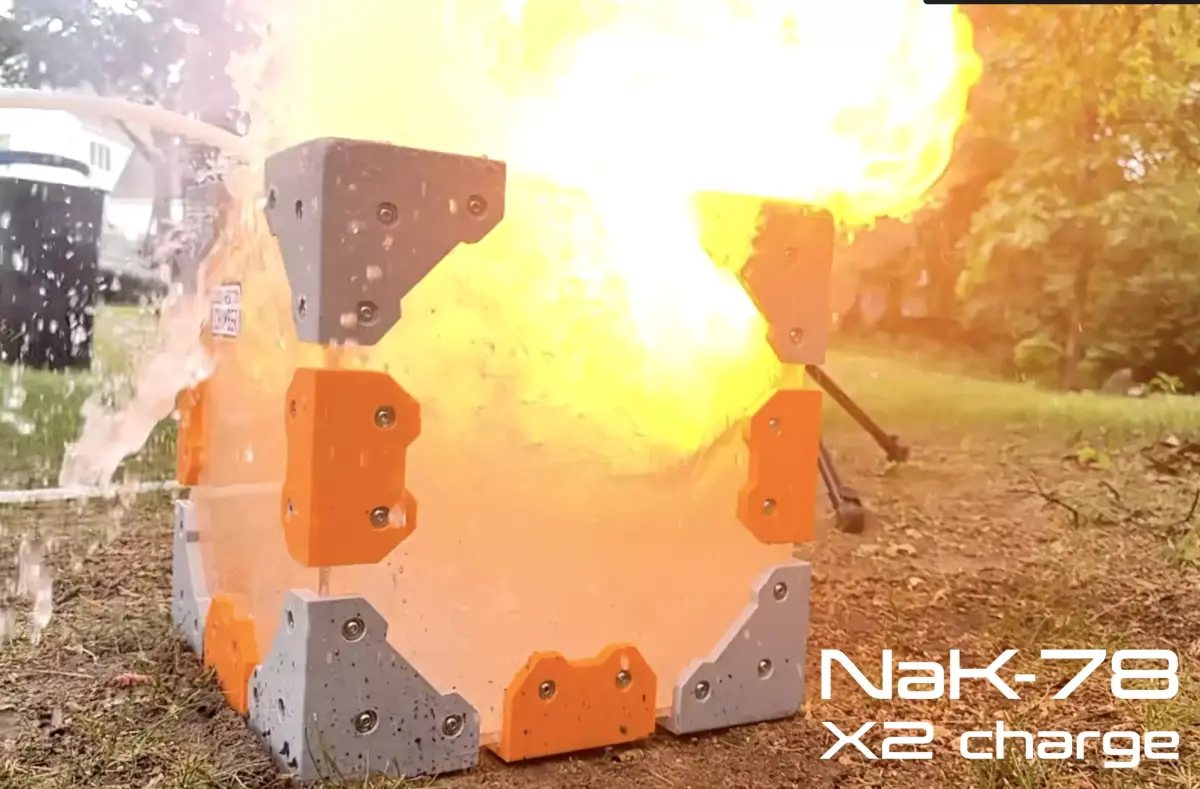
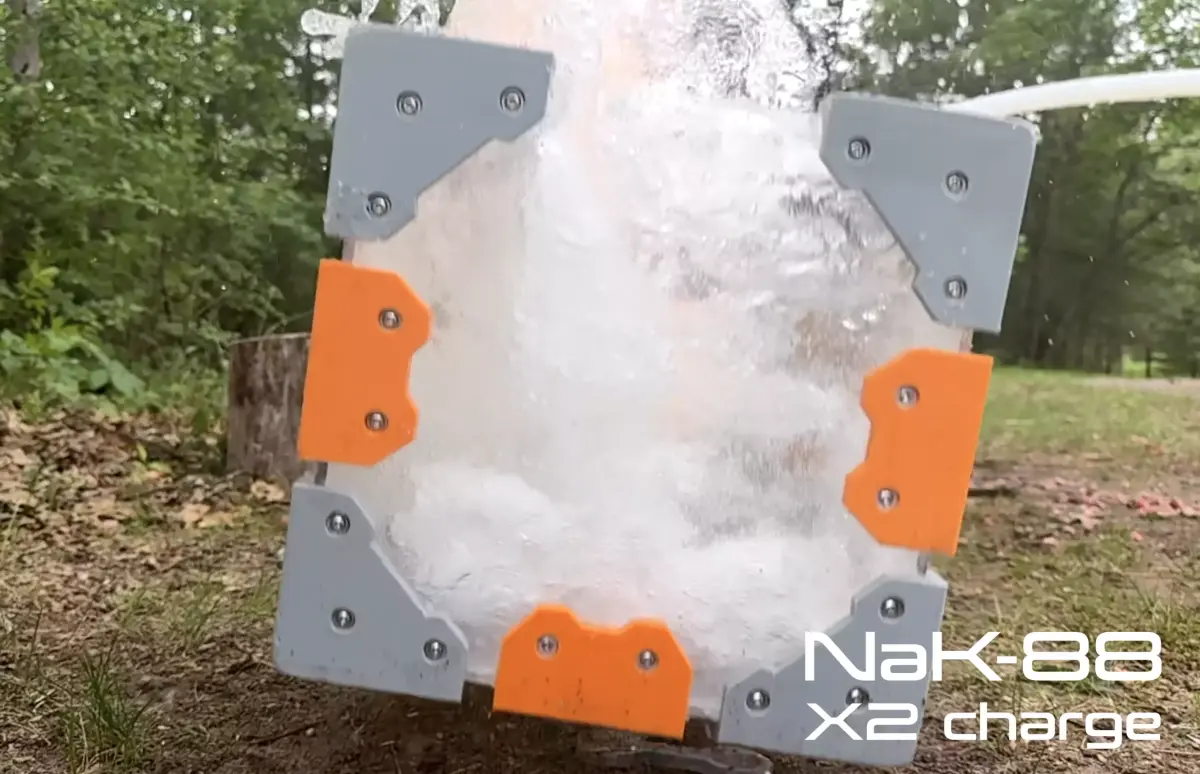
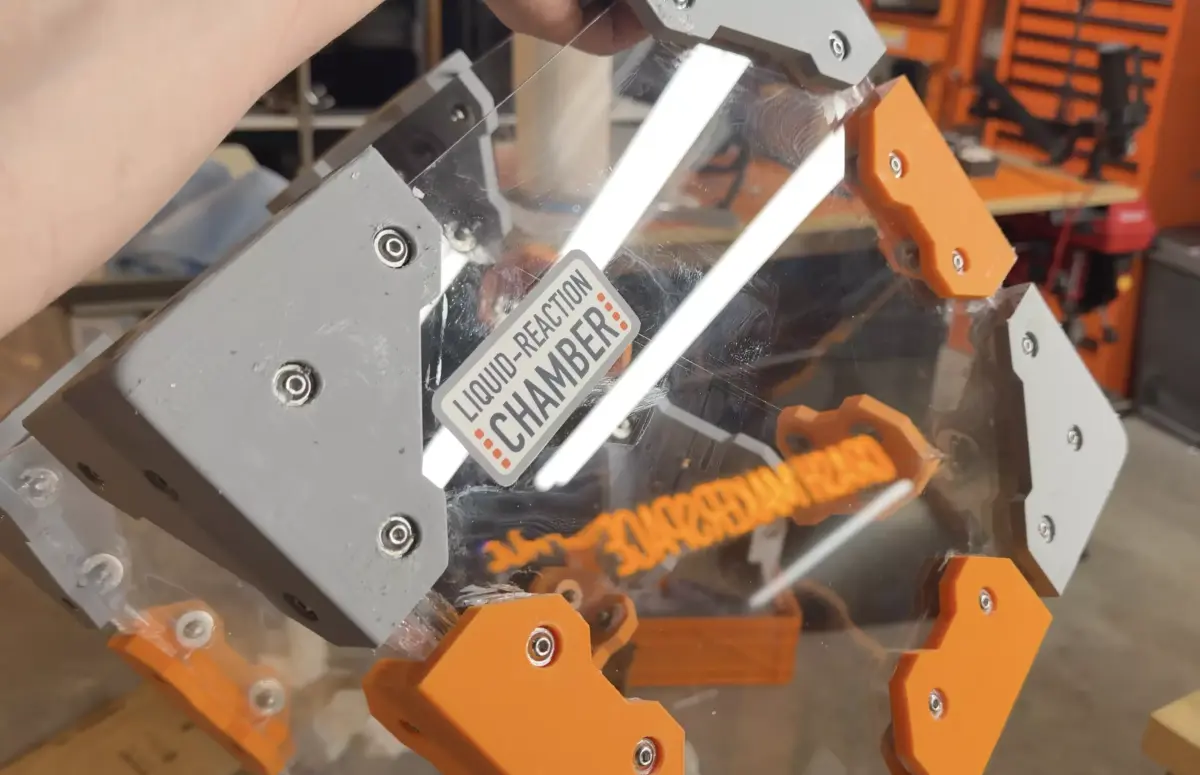
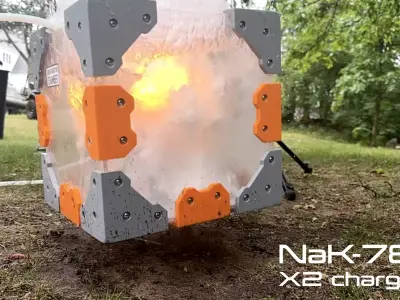
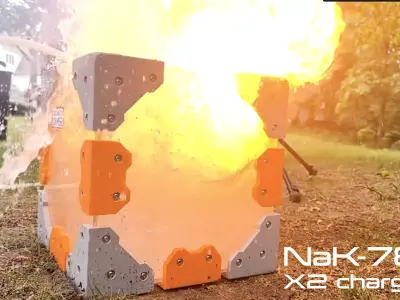
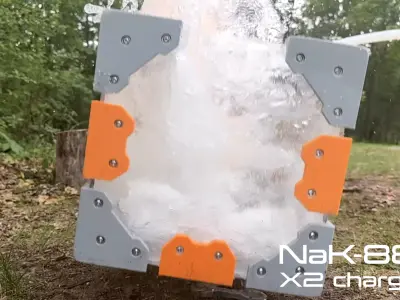
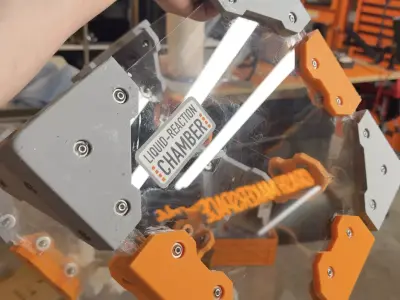
This clear reaction chamber was designed to capture crystal-clear footage of underwater tests while containing the forces generated during experimentation. Developed during a series of engineering and filming projects, it proved invaluable for recording high-speed footage, fluid dynamics, impact testing, and other visual experiments.
If you've ever wanted to build a professional-looking transparent test chamber for science, engineering, filming, or educational demonstrations, this design provides a strong and modular foundation.
REQUIRED MATERIALS
Print x8 Corner Brackets
Print x8 Edge Brackets
Print x1 Chamber Label Sticker on inkjet sticker paper (Optional)
- x5 12× 12 × 1/4" Polycarbonate Panels
- x92 M5 × 20 mm Bolts
- x92 M5 Silicone Washers
- x92 M5 Steel Washers
- x92 M5 Nylon Lock Nuts
- High-Strength Silicone Sealant
PRINTING RECOMMENDATIONS
Print the brackets with a minimum of:
- 5 perimeter walls
- 5 top layers
- 5 bottom layers
- 18% cubic infill or greater
Organic supports are recommended for easier support removal and cleanup.
ASSEMBLY
This design uses standard 12× 12 × 1/4" polycarbonate panels and requires no cutting.
Arrange the panels so that two opposing side panels rest on top of the bottom panel while the remaining two side panels contact both the bottom panel and the adjacent side panels. This creates a small height offset at the top opening that becomes hidden once the upper corner brackets are installed.
Carefully pre-drill all mounting holes and apply a generous amount of silicone sealant during assembly. Seal all panel seams, bracket interfaces, bolt holes, and fastener locations to ensure a watertight enclosure.
For each fastener, install the bolt through the bracket and polycarbonate panel, followed by the silicone washer, steel washer, and nylon lock nut. Tighten until the silicone washer compresses and extends approximately 1–2 mm beyond the edge of the steel washer.
Once cured, remove any excess silicone using isopropyl alcohol and a clean cloth.
APPLICATIONS
This chamber is ideal for:
- High-speed filming
- Fluid dynamics demonstrations
- Underwater testing
- Engineering experiments
- Educational displays
- Product demonstrations
- Workshop and laboratory projects
LICENSEThese designs are proprietary to Crash Makerspace and are provided for personal use only.
Redistribution, resale, modification for redistribution, or distribution of these digital files or printed parts derived from them is prohibited without written permission. All intellectual property rights are reserved.
DISCLAIMER
These files are provided for educational, artistic, and research purposes only. Users assume all responsibility for fabrication, assembly, and use.
Always follow appropriate safety procedures and comply with all applicable laws, regulations, and best practices when constructing or using any project derived from these files.
STL (Stereolithography, filesize: 3.81 MB)