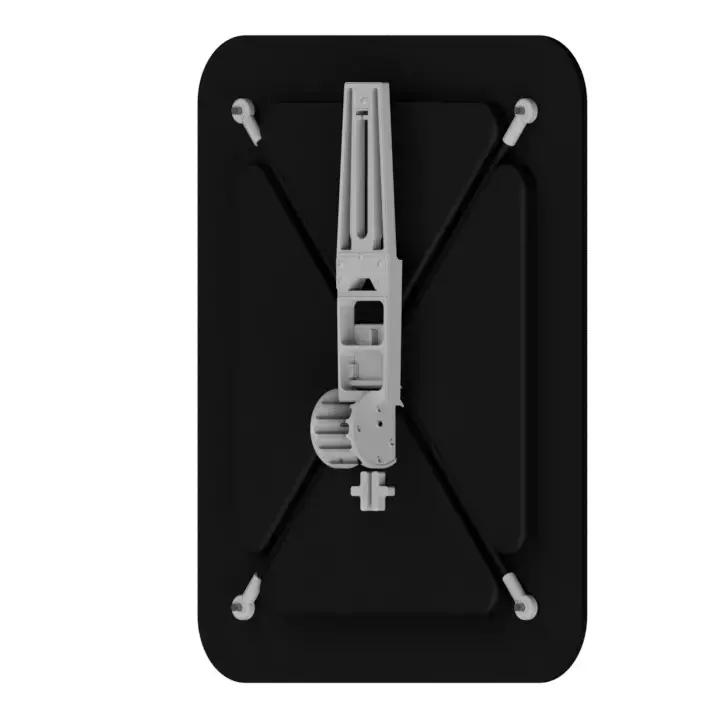
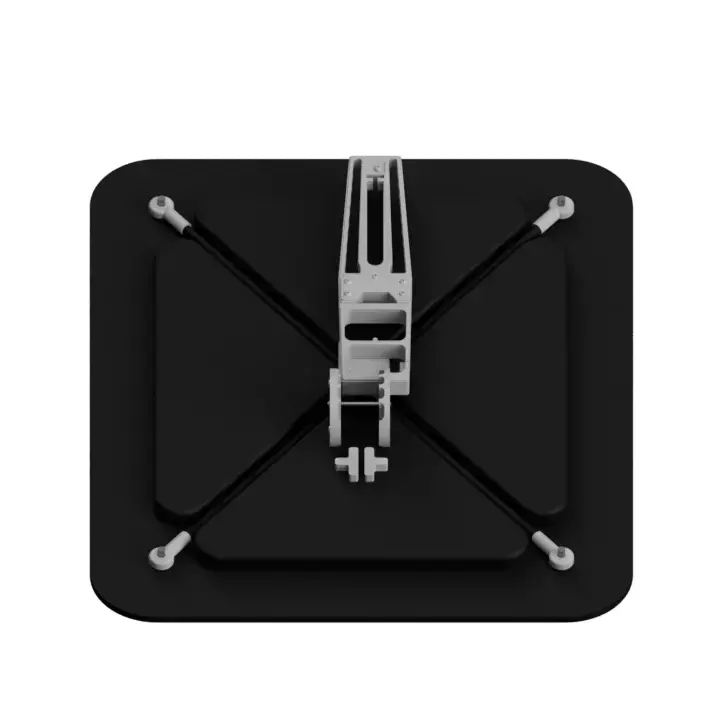
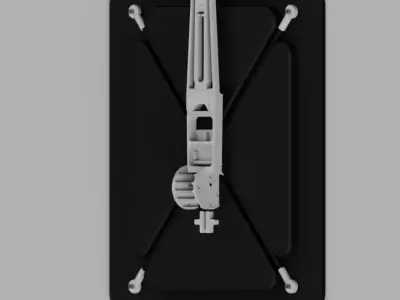
Been wanting to do this one for a while but could not find clear pictures of the ratcheting middle greeblie. I looked at multiple reference pics and found that many are different and both sides are different. This is the Ceiling hatch which would be near to Han Solo cockpit seat. Maybe one day I will add the parts for the other sides. Cheers!
Millennium Falcon Cockpit Ceiling Hatch STL 3D Print File:
This listing includes digital files only; no physical items will be shipped.Ensure you have access to a 3D printer or 3D printing service.Due to the digital nature of the product, refunds or exchanges are not available.
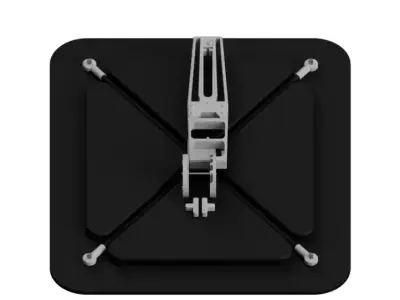
Dimensions (see pics):
- approx. 201.5mm wide x 240mm tall x 32.3mm thick at largest partBut you can scale it to your printer bed size!
Items Needed :
QTY 1 - Bob Smith Superglue or equivalent
Assembly: (see video to help you put this together)
- Print out all parts.
- Do a Dry Run / Test Fit before doing anything.
- Start with the Backing piece laying flat long wise.
- Add the BoxBottom to the middle area with the large gap facing up.
- Add the WireCables into the BoxBottom.
- Add the CableEyebolts to the WireCable ends.
- Add the Pins through the CableEyebolts so it holds them onto the Backing piece.
- Push the LongPin through the center of the LeftGear and RightGear,
- Place the Gears below the BoxBottom it should fit into the area and be sitting on the WireCable, Make sure its hugging the Backing piece.
- Add the BoxTop on top of the BoxBottom
- Add the Handle to the RightGear slot and slide it to the left to make sure it is touching the LeftGear.
- Add the Tee pieces whereever you choose.
- Drill some holes into the Backing piece and attach it to your cockpit ceiling!
PROTIP's:
- Paint and let dry before handling.
- Do a Dry Run / Test Fit before doing anything.
- Do not over tighten the screws
Enjoy!
Please let me know of any issues.
Whitey!
Join My Patreon for over 200 Awesome STL-DXF-SVG files and counting:Ask my Patrons and they will tell you that I am very active.$5 Tier and up get a Etsy 20% off Discount CodePatreon = WhiteysWickedWorkshop
STL (Stereolithography, filesize: 1.41 MB), OTHER (Other, filesize: 35.9 MB), PNG (PNG, filesize: 1.41 MB)