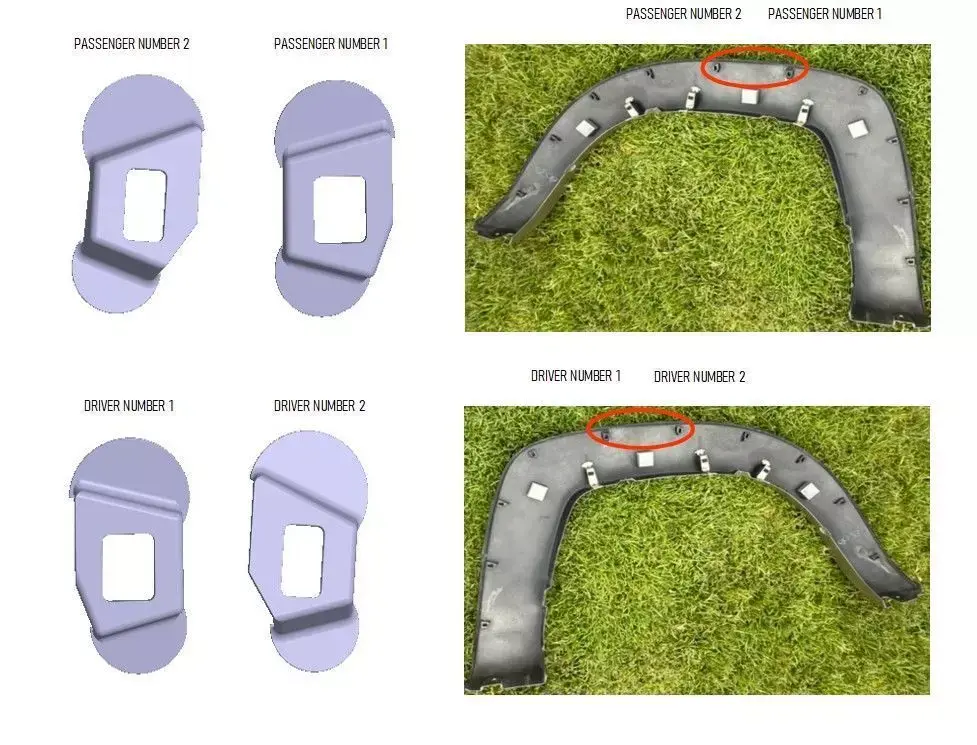
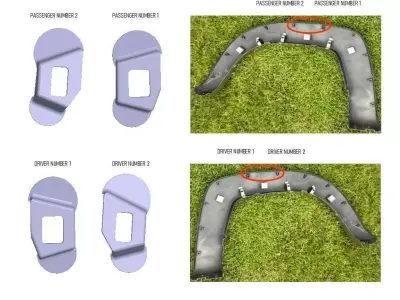
Repair brackets for the 2005-2011 Toyota Tacoma rear fender flares are custom-designed components, 3D-printed, designed to replace the two center brackets/clips on the driver and passenger side rear fender flares that have broken off. These brackets are specifically engineered to match the precise contours and mounting points of the original equipment manufacturer (OEM) brackets at the designated center locations, ensuring a proper fit and secure attachment to the fender.
These are intended to be 3D printed; I do not print them.
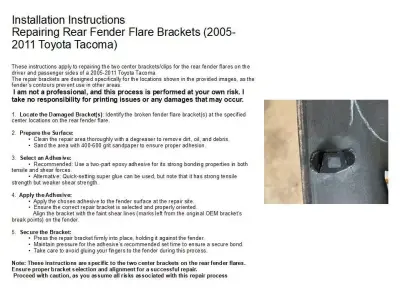
Installation InstructionsRepairing Rear Fender Flare Brackets (2005-2011 Toyota Tacoma)
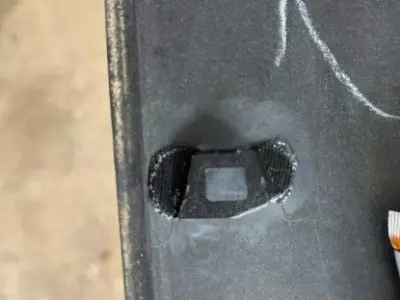
These instructions apply to repairing the two center brackets/clips for the rear fender flares on the driver and passenger sides of a 2005-2011 Toyota Tacoma. The repair brackets are designed specifically for the locations shown in the provided images, as the fender’s contours prevent use in other areas.** I am not a professional, and this process is performed at your own risk. I take no responsibility for printing issues, or any damages that may occur.**
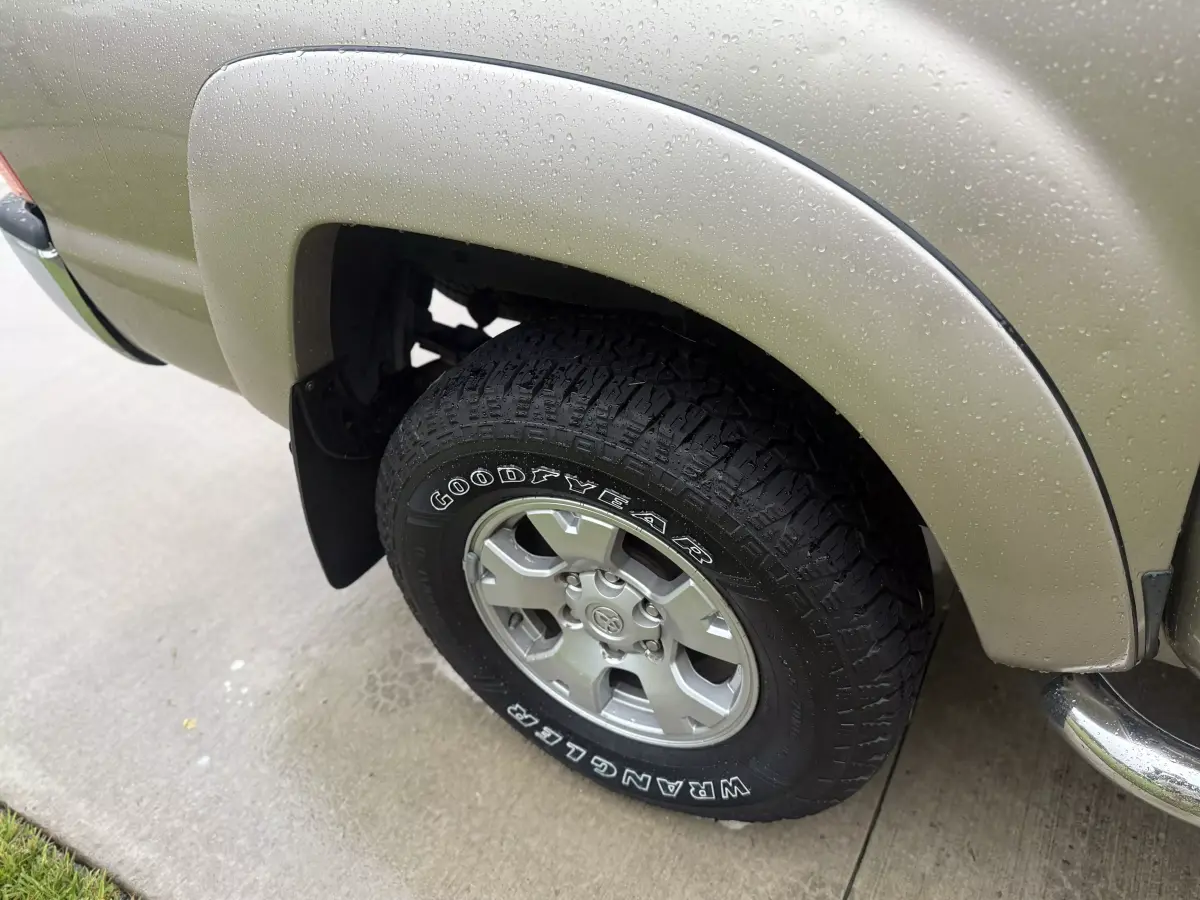
Locate the Damaged Bracket(s): Identify the broken fender flare bracket(s) at the specified center locations on the rear fender flare.
Prepare the Surface: • Clean the repair area thoroughly with a degreaser to remove dirt, oil, and debris. • Sand the area with 400-600 grit sandpaper to ensure proper adhesion.
Select an Adhesive: • Recommended: Use a two-part epoxy adhesive for its strong bonding properties in both tensile and shear forces. • Alternative: Quick-setting super glue can be used, but note that it has strong tensile strength but weaker shear strength.
Apply the Adhesive: • Apply the chosen adhesive to the fender surface at the repair site. • Ensure the correct repair bracket is selected and properly oriented. Align the bracket with the faint shear lines (marks left from the original OEM bracket’s break points) on the fender.
Secure the Bracket: • Press the repair bracket firmly into place, holding it against the fender. • Maintain pressure for the adhesive’s recommended set time to ensure a secure bond. • Take care to avoid gluing your fingers to the fender during this process.
Note: These instructions are specific to the two center brackets on the rear fender flares. Ensure proper bracket selection and alignment for a successful repair. Proceed with caution, as you assume all risks associated with this repair process
STL (Stereolithography, filesize: 10.8 MB)