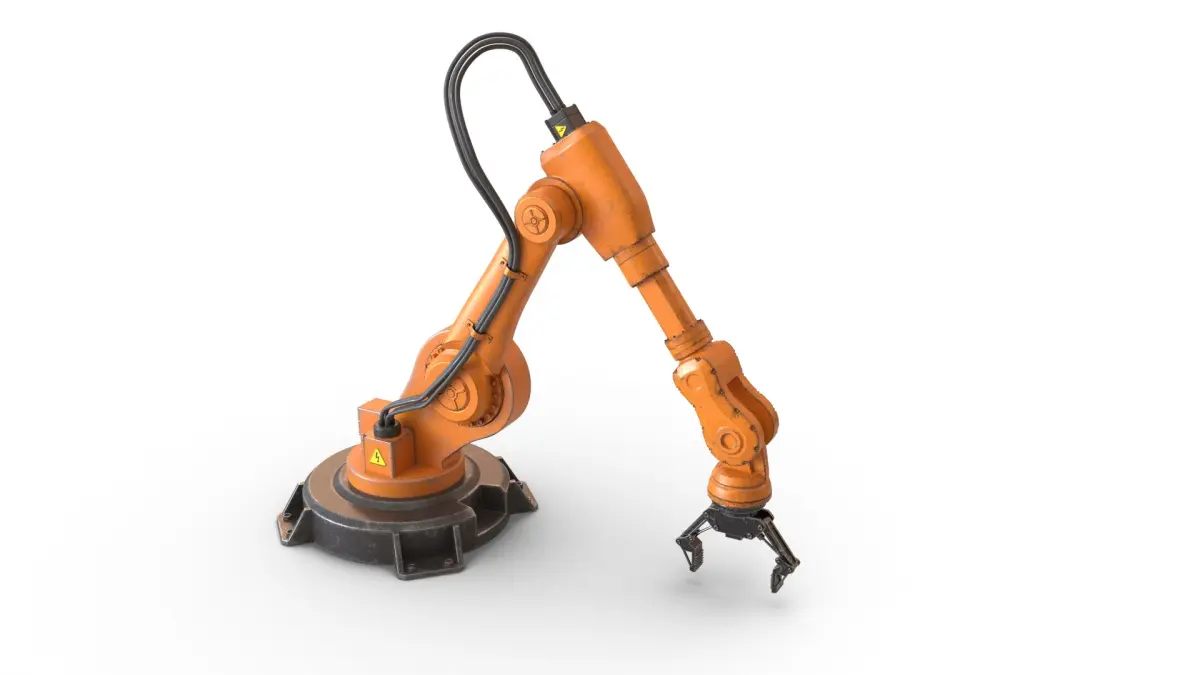
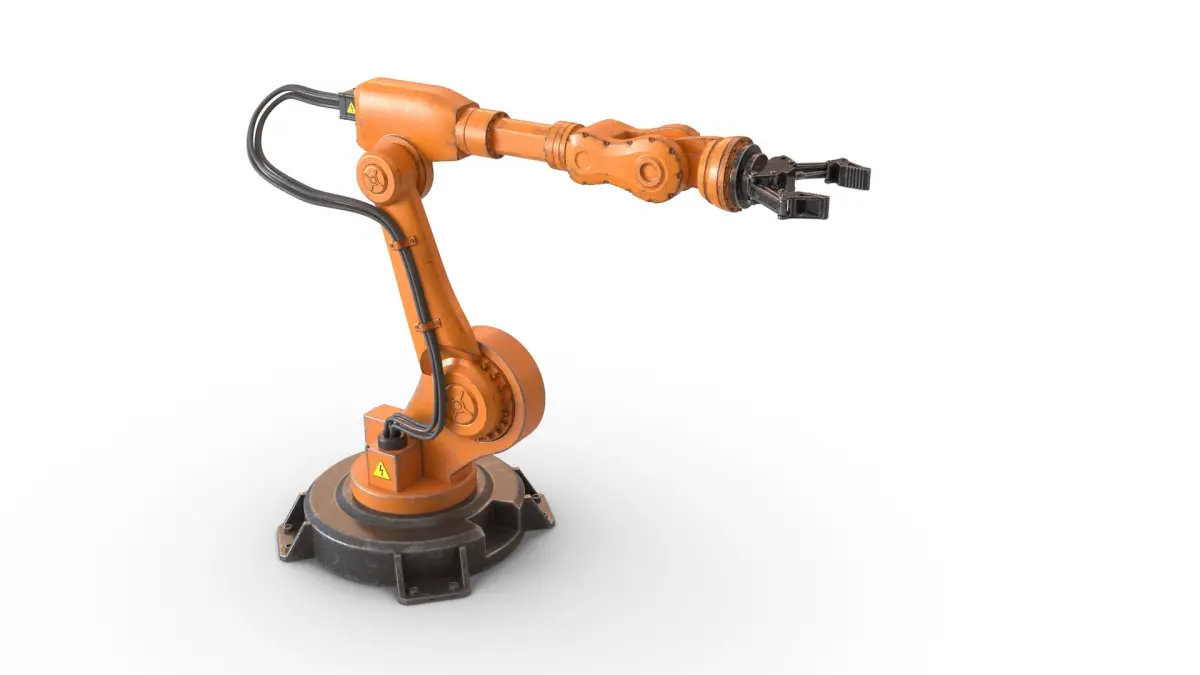
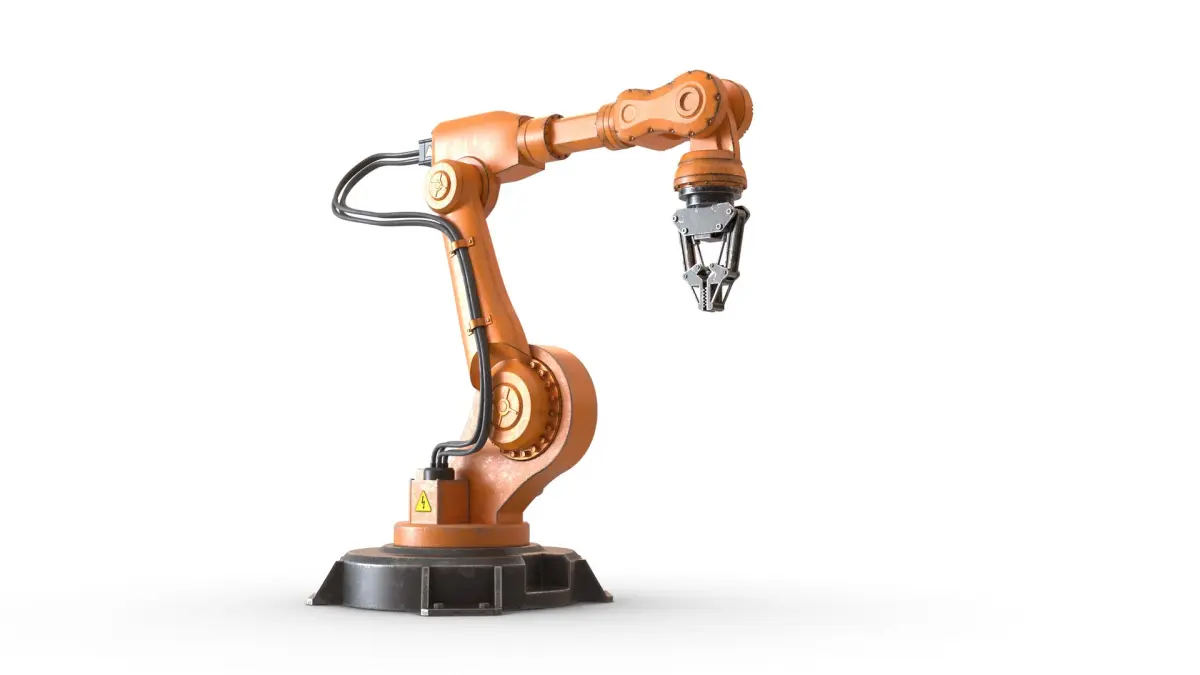
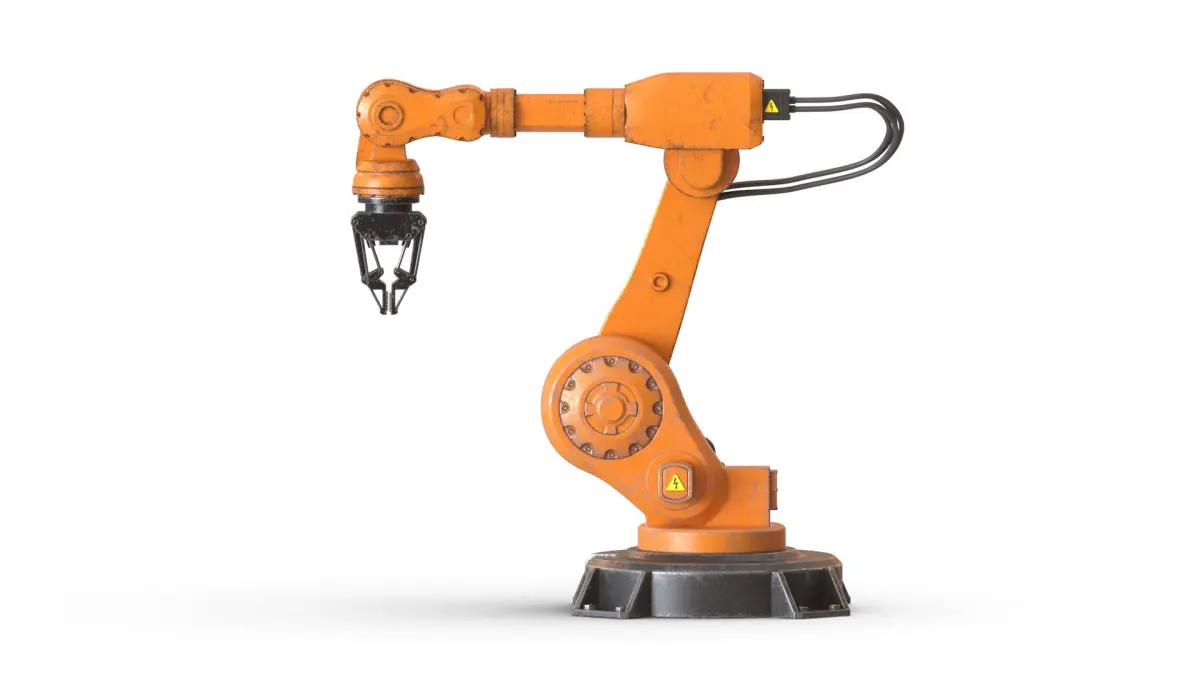
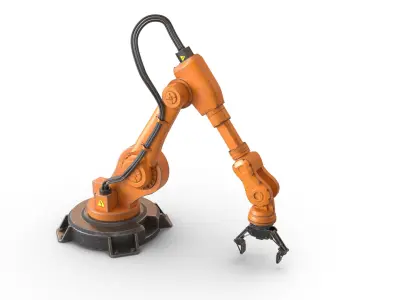
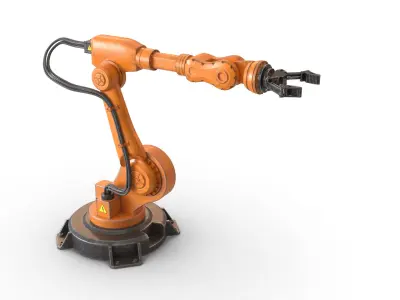
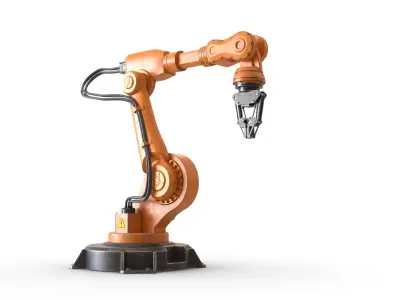
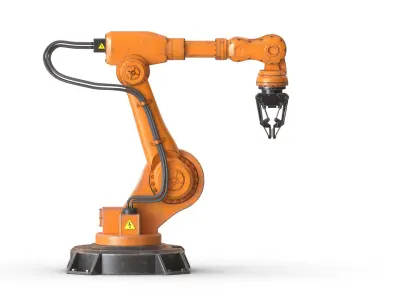
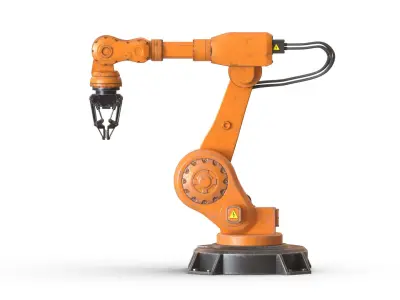
Industrial Robotic Arm Manipulator hard surface high quality photoreal model prepared for render
and animation.
Polygons – 43383 (1 382 398 with 2 smooth iterations).
Verts – 45110 (697 680 with 2 smooth iterations).
6 UV sets. UVs are non-overlapping.
6 selection sets in the scene.
6 sets of PBR textures (png 16bit 4096x4096px). 2 HDRI maps used in render are included.
The scene has 4 layers except “0”one:
“Manipulator” – contains all scenegeometry.
“Controllers” – contains 3 spline controllers for animation.
“Rig” – contains everything for animation such as bones, helpers, solvers etc. It is hidden by default.
“Scene” – contains camera and light. By default the camera is locked.
Rig is made with 3ds max standard instruments (solvers, constraints, bones…). Please, watch the attached video!
There are 3 controllers for animation:
“contr_main” (blue) – main controller to move, rotate and scale the whole rig. Everything except studio stuff is attached to it. Has no limits on movements or rotations.
“contr_Rot” (pink) – controller for rotation of the part that rotates on platform along Z axis. Has a limit on rotation only about one axis.
“contr_IK_main” (green) – controller to move the “claw” of the manipulator. All other parts will move automatically after it. Has a limit on movement along two axis and rotation along one axis. Also it has Attribute holder in the Modify stack “Extra parametres” that contains controllers:
“clamp opening” – Open/Close clamp slider.
“wrist_rot_slider” – controls the rotation of the clamp. You can quickly rotate on +360 degrees.
“wrist_rot_degrees” – connected with the previous controller. Makes the same. You can quickly set the degree you need here.
All controllers are freezed to their default positions. To turn them back after manipulations just click Alt+RMB+select “Transform To Zero”. To remove all limits just go to Hierarchy tab – Link Info and deselect all check marks in the Locks menu.
The scene was made in 3ds max 2021, saved in 2018 format. Corona and V-ray renders looks pretty similar (the images you see contain v-ray ones).
File formats that are included:
3ds max 2018 with V-ray 6 (native) - rigged
3ds max 2018 with Corona 8 – rigged
.FBX – not rigged (v-ray)
.FBX – not rigged (corona)
.OBJ – not rigged
The scene contains 2 first animated frames. The first one contains manipulator’s position on the search image, the second one contains its default position.
System Units are millimeters.
Render settings are applied. All you need to do is just hit “Render” button.
Thanks for attention!
Native | 3ds Max 2018 | V-Ray 6 3ds Max 2018 | Corona 8 FBX OBJ