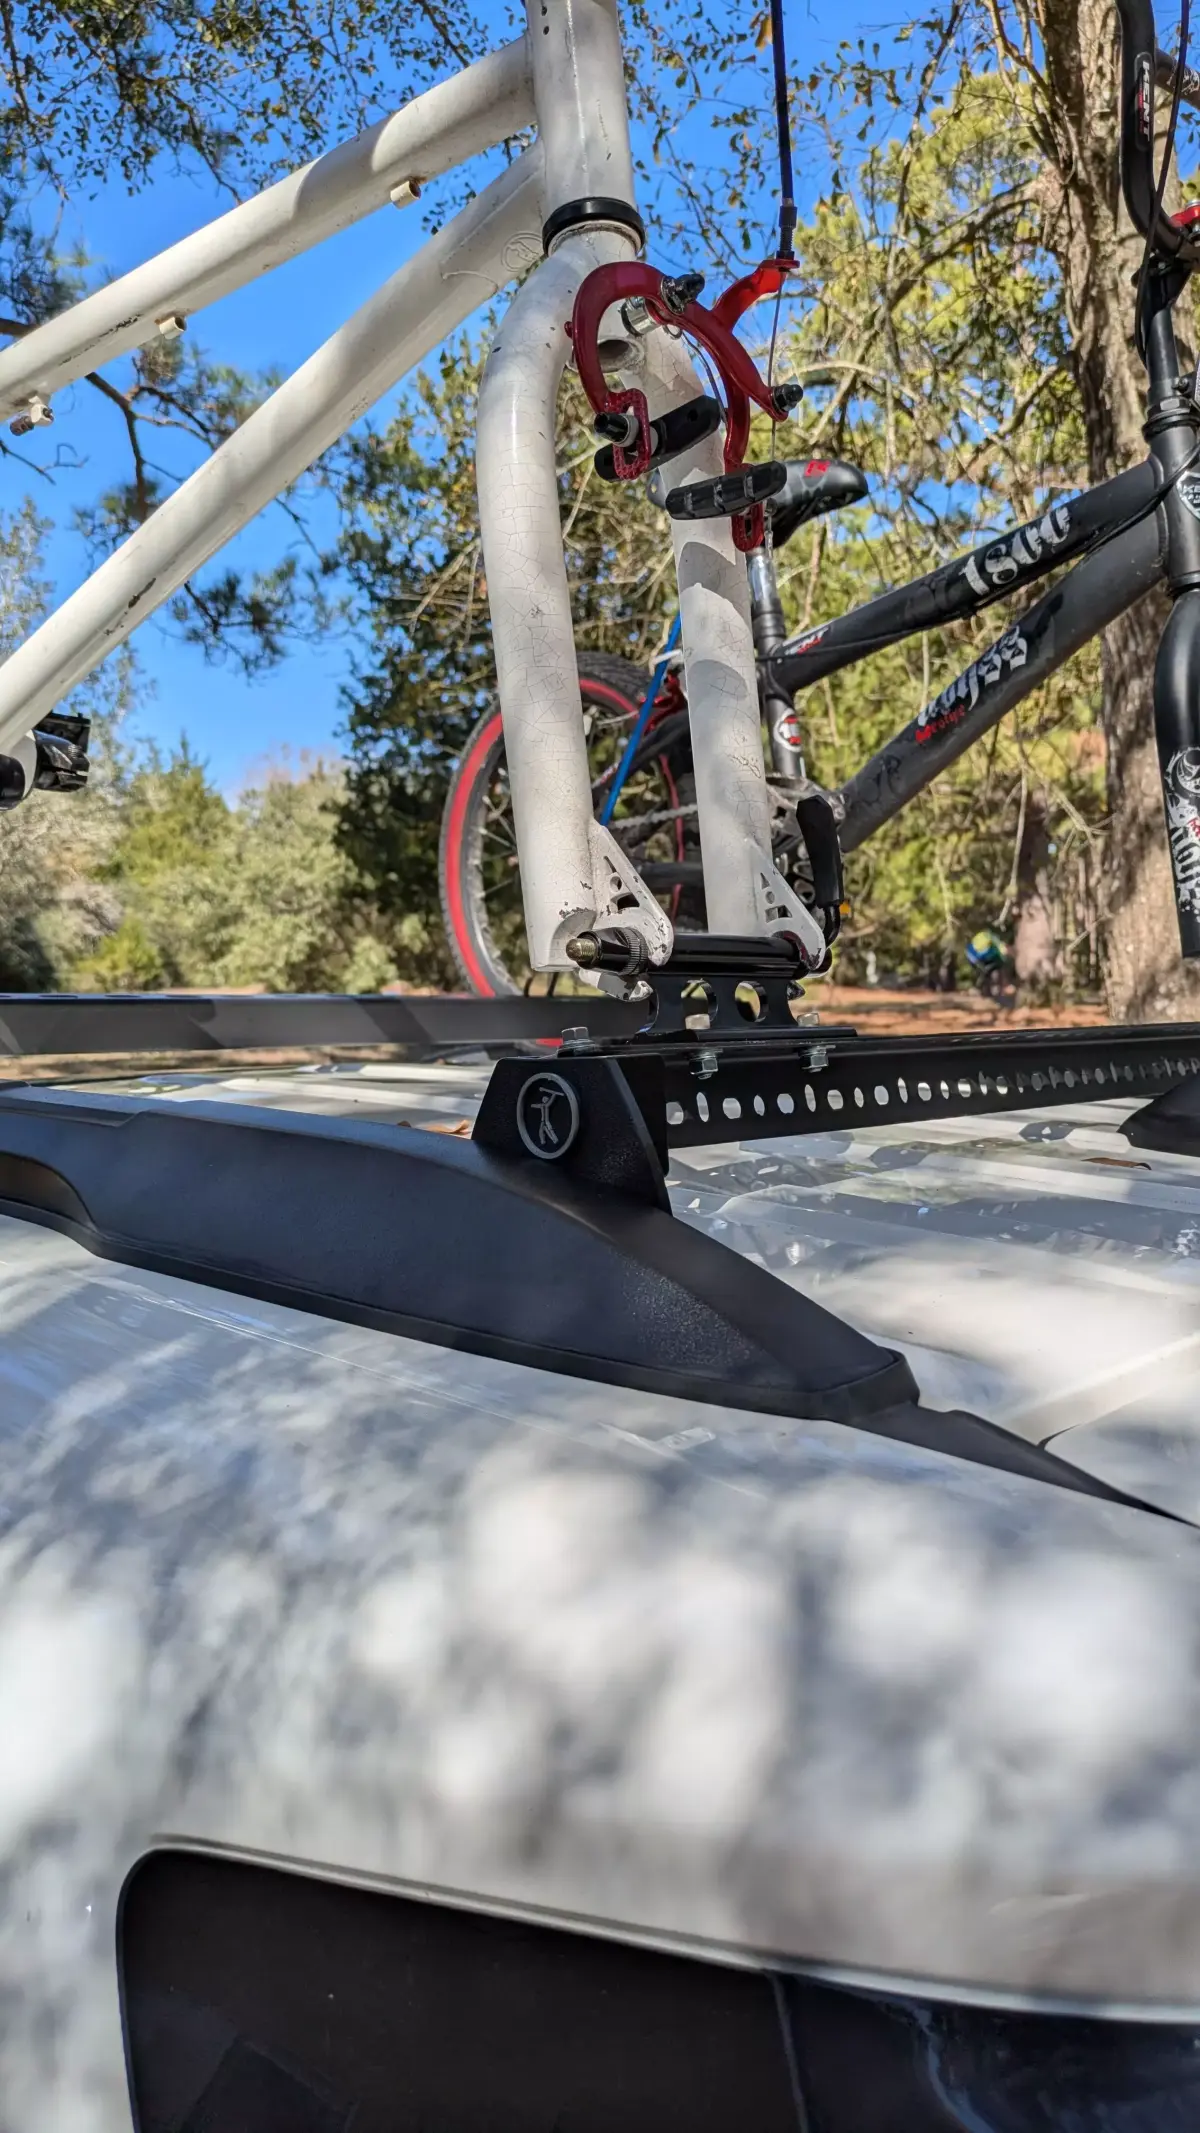
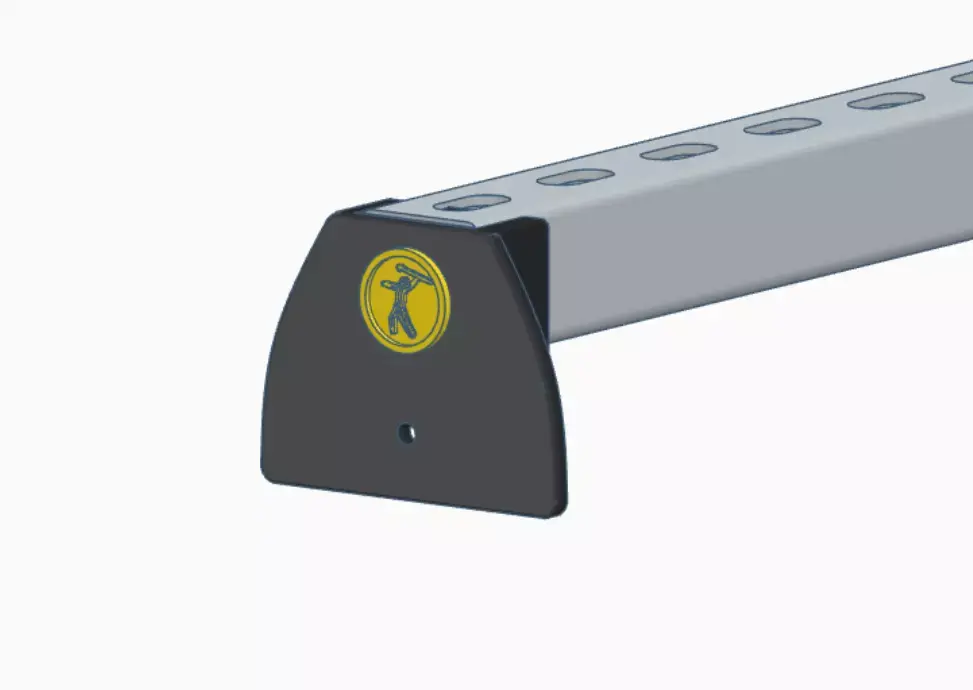
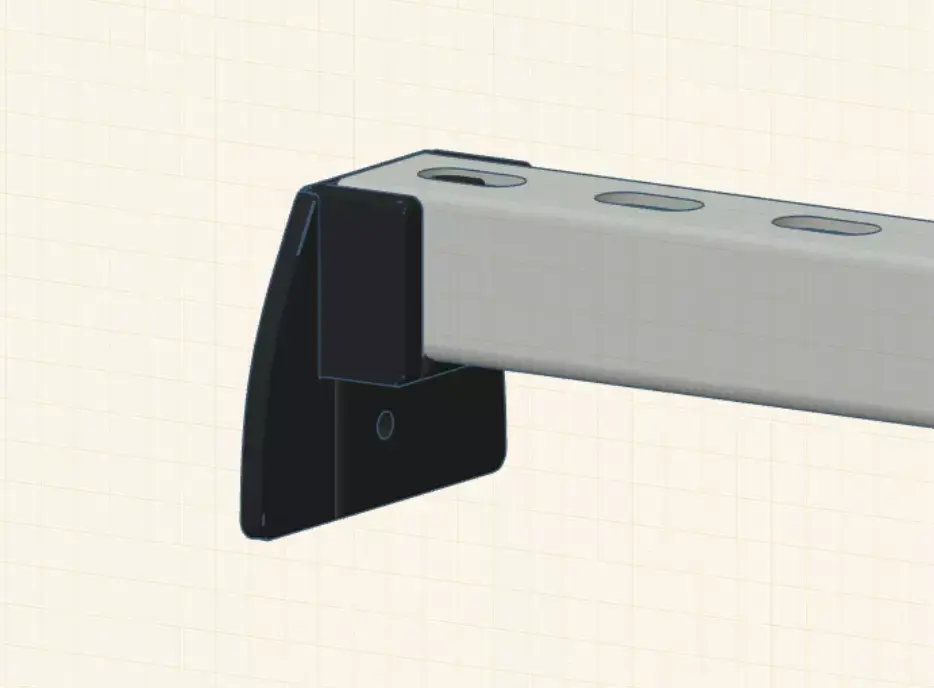
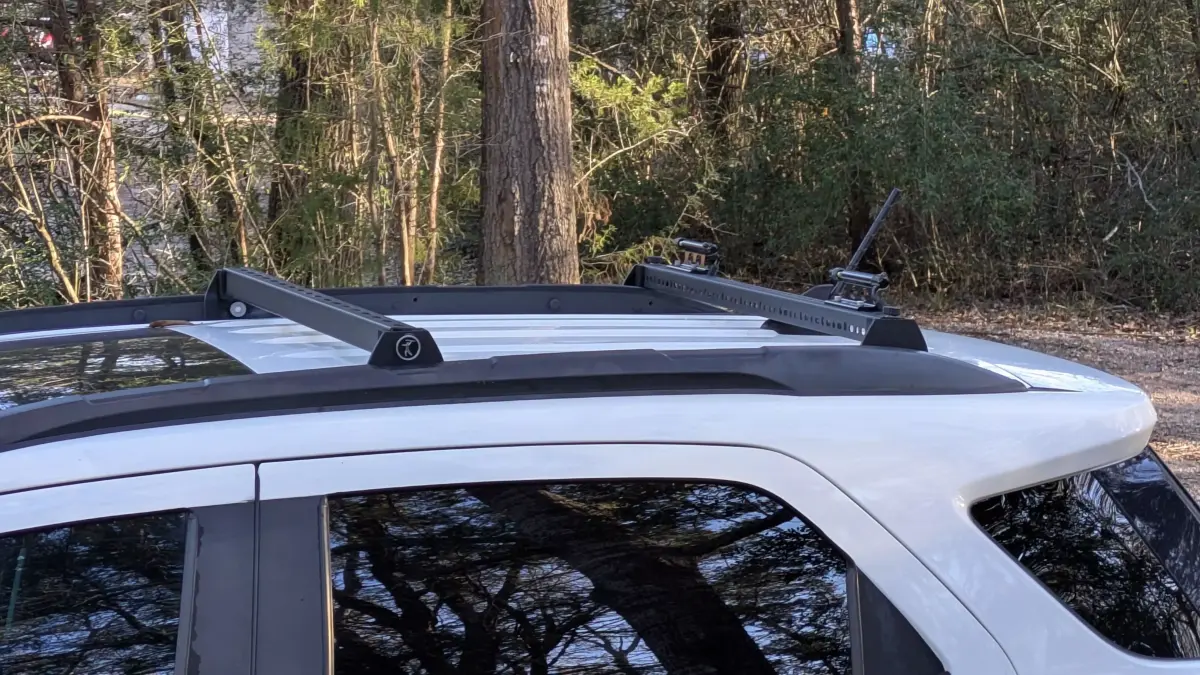
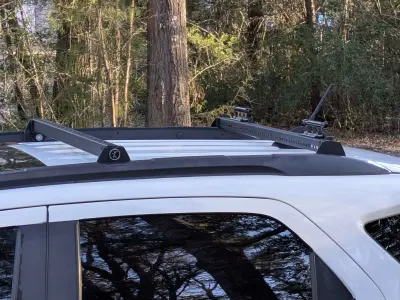
This adapter/bracket supports 1-⅝” channel to create an attractive installation on any car with existing rails or truck bed interior.
I installed it as a bicycle rack on my 2018 Ford Ecosport by using the provided 6mm screw holes in the vehicle rails.
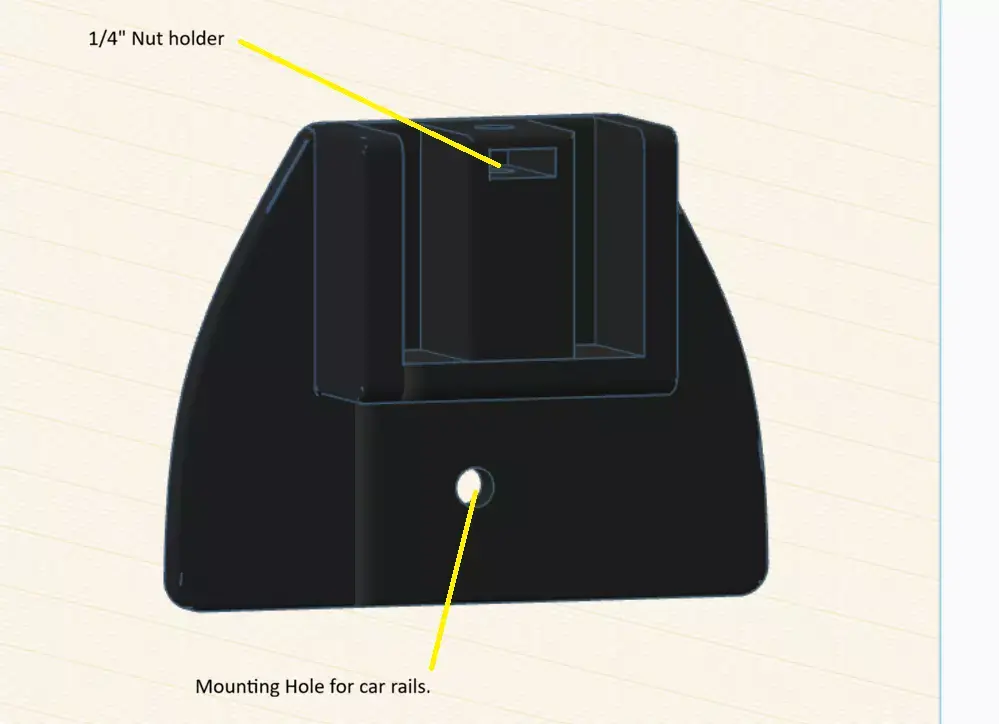
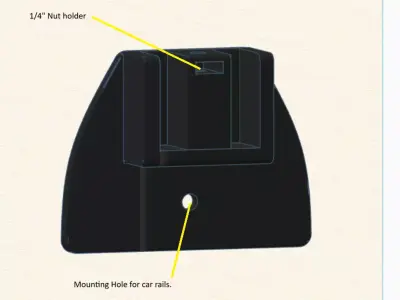
If your existing car rails are purely cosmetic you can drill holes and use ¼” self tapping screws.The bracket has room to drill additional holes for a custom fit. Other than the 6mm screw I used to attach to my roof rails, everything is 1//4”-20 by 1” long for supporting the brackets to the unistrut.
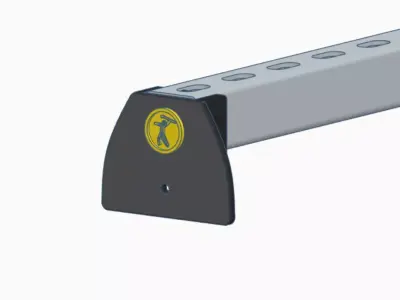
Also I have provided some optional Caveman badging that can be used. Due to these brackets being universal. The badging location may vary so the badging will have to be glued in the location you choose.
Installation Instructions”
1) Print the brackets in either PETG or TPU with a 50+% infill. If you have slight angles to your existing rails TPU makes a good solid mounting while giving just a little flex for 1 or two degrees. Also TPU offers a kind of buffering for the cargo.
2 )Install brackets and measure the distance between the interior of the bracket where the channel sits. Remember to measure twice, cut once.
3) Install the 1-⅝” channel to the brackets using the ¼” hardware described above. Use was flat washers and lock washers.
Tips:
- Purchase #14 gauge unistrut. #12 gauge is too heavy and overkill.
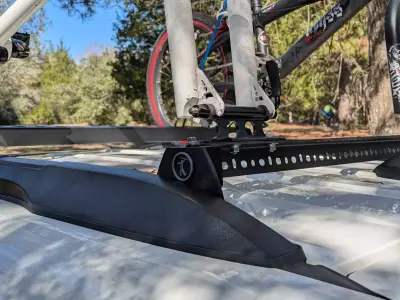
- If youre using as a bike rack, see the attached Amazon fork mount I purchased.
- The mounting bracket has a small cavity for holding the ¼” nut. This makes the installation much easier.
Painting the strut prior to installation gives a really good look. I would say semi gloss black or grey are both fantastic. Maybe even Red.
Amazon Bike mounthttps://www.amazon.com/dp/B07MDXZGMB?ref=ppx_yo2ov_dt_b_fed_asin_title
STL (Stereolithography, filesize: 2 MB)